OUR HOUSE – AUGUST 2013


The driveway was installed in August, as well as the concrete porch that wraps around the front portion of the house leading up the front door. Also on the exterior, the eucalyptus leaf imprints in the back pathway turned out really nicely.

Inside the Kitchen cabinetry arrived and was installed. Templates were made for the stone countertops. A series of elm planks reclaimed from a barn were used to clad the front and one side of the Kitchen island.

The bathroom vanity cabinets were hung – a photo of the rift cut white oak vanity in the master bathroom is shown here. Finish work happened in the master bedroom – white oak planks cover the headboard wall.


OUR HOUSE – JULY 2013


The exterior ipe screening wall started to take shape.  The scaffolding was still up at the back of the house as exterior finishes and details continued towards completion.  A concrete path was poured by the exterior downstairs side door.  The red board shows where the trench drain will sit.  I picked eucalyptus leaves and directed their placement on the freshly poured concrete to create some fun impressions.  Jose did an amazing job setting them at just the right time in the drying process.

On the interior, the concrete floors were sealed with a liquid that penetrated the matrix of the material and then the floors were buffed.  They went through a ton of the diamond buffing pads.  The finish should last 15 years! In order for the guys to do this work, the whole room had to be cleared.  It was so nice to see the Greatroom open and airy and free of the moveable scaffolding work tower on casters.

The power needed to create electricity was a temporary set up with a giant cable attaching to the garage roof right up until almost the end of the project.


OUR HOUSE – JUNE 2013


In June the interior work focus was on finalizing sheetrock installation, trimming out windows and doors and working on the flush base detail. Tiling began in the three bathrooms.  We added a niche last minute to Bathroom 3 which was definitely a good call.

Waterproofing on the exterior was covered with finish materials – a lot of the cedar siding was installed this month.  Exterior trim began and this was a big job for sure. The stucco on the entry facade was done and came out brighter white than we expected.  Now we needed a porch and a whole lot more interior work!


SIDING AND SHEETROCK


SIDING and SHEETROCK are two of my new favorite words! It has been a hectic time at our house project with much going on quickly. These are a few photos of things in the current state, two photos are of the Greatroom. Pretty exciting that sheetrock was installed last week on the interior, and cedar siding on the exterior. Also you can see the metal railing at the stair has been partially installed in the Greatroom. It is wrapped up for protection during the rest of construction. Some of the interior doors, and the exterior front door are leaning up against the big wall in the Greatroom. The folding doors that will open up to our deck are already installed as you can see. 

This post is out of sequence, but at least nice for you to see where things are today!


OUR HOUSE – MAY 2013


In May we were ready to have the interior concrete floors poured.  This took several pours on different days.  These photos are from those different days.  It was interesting to see how many people were required to pull of such a feat!  A steel plate had already been installed to cover the thickness of the floor from the lower level to the upper level, and also the steel posts of the future glass railing were installed a head of time.  A challenge was to get the concrete to butt up neatly and tightly to the steel.  Definitely a case of something a lot easier to acccomplish than it actually is.  Solid Concrete did a stellar job on this complicated installation.


OUR HOUSE – APRIL 2013


The Greatroom ceiling was built from the underside out, which is the opposite of how ceilings are typically sequenced.  The tongue and groove doug fir was placed above the curved glu-lam beams.  Then the waterproofing layers.  It was fun to go up on the roof as it came together, just before the standing seam metal roofing was installed.

The ceiling of Bedroom 1 went in shortly thereafter, and framing continued to move along swiftly.  Tile pattern mock ups were layed out for review by Bob and me.

The kitchen plumbing was taken to the next level in preparation for the concrete floor to be poured.  Also radiant heat coils were installed in a great looking pattern, which of course was soon to be covered up permanently!


FEELING KIND OF BLUE


In the middle of September, the concrete walls that make up the lower level of the house were poured. The board forms were made from 6” wide wood planks and the concrete in the same color as the landscaping board form concrete walls. Bob, my husband, thought to use a special insulation on the walls that will also be finished concrete on the interior. The blue insulation panels are held in place by ties during each pour. The second pour will be the finished concrete on the interior, 4″ thick.

The walls you see that do not have the blue insulation will have regular insulation and sheetrock on the interior. Rick and Bob are standing on one of the ramps that Solid Concrete builds at their job sites. There is something cool about how they make what would otherwise be treacherous working conditions kind of fun and treehouse-like. 

Shortly after the lower level walls were poured, the plumbing team started their work by laying in drains and things that go under the base rock of the lower level floor, which, surprise surprise, will be poured concrete. Then in mid-October, excavation began for the front upper portion of the house. The mountain of dirt got moved around again in preparation for the upper floor foundation to be created.

The board forms stay on the concrete for quite a while at this point, mostly to protect the walls from damage. It takes just a few days for the concrete to set.


OUR HOUSE – MARCH 2013


Framing continued in March, and very quickly.  The curved glu-lam beams that were made especially to a certain shape for our particular ceiling were installed.  In this instance the roof was built from the inside out – the beams were set, then the finish tongue and groove doug fir boards, then in later months insulation, waterproofing and finally a metal standing seam roofing material were added.

The bedrooms really start to take shape, and the greatroom also.  The last photo is of the house near the end of the month – really starting to look like we might live there at some point!


OUR HOUSE – LOWER LEVEL – FEBRUARY 2013


At the same time as framing was happening upstairs, construction of the downstairs continued.  Bathroom 3 began to take shape, the walls of Bedroom 3 were framed, and the stairs became stairs!  The area to the right of the stairs (when going down them) presented itself as a design challenge to resolve.

Two walls in Bedroom 3 have concrete as their finished wall surface.  It was hard to appreciate how great they would look until framing began.

Also included are a few photos of the house from the rear, both looking up and an overview from a short distance.  A lot happened in February!


OUR HOUSE – UPSTAIRS – FEBRUARY 2013


The weather in February was spectacular.  No rain, which is bad for California, but great for construction.  The wood subfloor was put on over the joists.  Next came framing of certain walls.  Structural steel happened early in the month – this holds the nana folding door systems.  Pretty exciting to have I-beams in our house! Framing continued.  I did not know that walls were built first on the ground, then raised and set in place.  It makes perfect sense.

As the rough openings were built for various windows, we had the opportunity to see the views from those openings for the first time.  The ceiling heights also were coming into shape and both Bob and I were happily surprised by how tall they are, especially in Bedroom 2 upstairs facing the street.  Heather Campbell, our architect, is really gifted at creating beautiful spaces that feel voluminous while having a small footprint.

Plywood sheeting started next, some of it providing sheer, some of it for blocking.

All of this happened in the first half of the month – I was amazed at the speed.  Instant gratification is the name of my game so I really enjoyed this part of the process!


OUR HOUSE - JANUARY 2013


Early in the month, the concrete garage facade was poured and the wood forms removed – looking great! Wood forms were set for the interior concrete walls at the lower level – this veneer of concrete is the finished surface.  A temporary wood “stair” was set up where the future stairs are to go. The garage floor was set up for concrete, and then poured and covered with protection.

SR Freeman, the framers, arrived mid month.  They got to work right away setting the ledgers that hold up the floor system.  Bob and I spent a lot of time at the site watching the progress.  By the end of the month the main floor plate was framed, which was a major step forward.  Due to having concrete walls for our lower level, the initial construction stages took much longer than if those walls had been framed in wood.  Wood framing is a more traditional style of construction.  Framing goes quickly and is very exciting.  At the end of the month, it was fun to have the first sense of the lower level as an interior space.


OUR HOUSE - DECEMBER 2012


With the house concrete walls complete, the next line of business was setting up drains in the sub floor and also insulation. Late in the month the wood forms were set for the concrete garage facade wall on the upper level. I snapped this photo of the Solid Concrete crew on Christmas Eve. I love it! It started my interest in photographing the various tradespeople at work doing what they love (or so I like to think). So many people’s hard work is needed to build a dream house!


OUR HOUSE – NOVEMBER 2012


In November 2012 concrete work continued. More house walls, two sets of landscaping stairs, and the start of the landscaping bench. A lot of digging up of where the upper level foundation walls are to go. The weather was favorable, always a help. Bob is standing in the downstairs bedroom, the window openings beyond him are in the downstairs bathroom wall. The overview shot shows why we love the lot so much – lovely view of treetops and the coastal range. That photo also shows how by the end of the month, the wood forms for the upper level foundation walls were pretty much in place.


A+ IS THE GRADE


On beautiful days in the summer, our view is spectacular.  Going by the job site and seeing the coastal range and trees reminds me why we are doing all of this!

The wall forms are progressing.  The work takes time and cannot be rushed.  That was hard to write as I am not a very patient person. One side of Bathroom 3’s wall is formed.  The wood planks are so pretty.  While this is happening, the wood structure for Bedroom 3 is started.  It is exciting to see the walls take shape.

The “finished grade” is the exterior surface we will walk on in it’s final state – at it’s proper “height”.  For now the site is in an excavation phase, so the surface we walk on is below grade.  It is hard to picture what it will feel like when the site gets backfilled and we are walking on something closer “to grade”.  That photo of the pen mark on a wall is the BBQ wall.

In the BBQ wall there are outlets, a j-box for a light fixture, switches and gas lines.  All have to be precisely located as poured concrete is quite final – not a lot of give once it has cured!

The retaining walls have cool ramps to walk along, and so do the board form house walls.

Around this time we see the first wall uncovered – the color came out so well and we love the finished surface – definitely an A+ result.  This is the East retaining wall which we will walk by when we exit the downstairs exterior door at the base of the interior stairs.


HEY – ARE THOSE HOUSE WALLS?


Since the entire lower level of our future house will be made of concrete walls, these walls are considered “Foundation” walls.  I still can’t quite get my head around that, but people who know more about the technical terms insist this is true.  The exciting part is that our “Foundation” is also partly our final house wall, at the lower level.

The concrete walls formed with plywood (instead of stacked 6″ wood planks) are what a lot of of us would think of as foundation walls – concrete walls hidden from sight or creating a mechanical room.

Our concrete foundation/house walls will go all the way to finished floor of the second story, so as you can see, they are quite tall!

Many things start to happen at once, the Fountain wall plumbing, house walls begin, and retaining walls are formed.  And all of a sudden the Mechanical Room looks sort of like a room.  Liner braces allow the retaining wall forms to be adjusted.

The fountain wall has a bench starting to zig zag away from it. The first step is a footing, then there will be, you guessed it, a concrete bench!


FORMING THE FUTURE


After the first concrete pour in mid-July, our basic layout started to take shape.  Here you can see where there will be a path along the west side of the house.  The back wall is now complete, creating a substantial divider between us and our downhill neighbor.  The effects of water on a slope lot are significant, and this wall is something that has been needed for quite a while.

Solid Concrete started to set up the forms for the BBQ and Fountain walls.  The 6″ high wood boards are treated with a type of varnish, then stacked evenly.  The concrete will take on the wood’s pattern.  Rebar is being set in what will be the middle of the concrete walls. I like the “chairs” that are used to keep the rebar from touching the wood.


THE FIRST OF MANY POURS


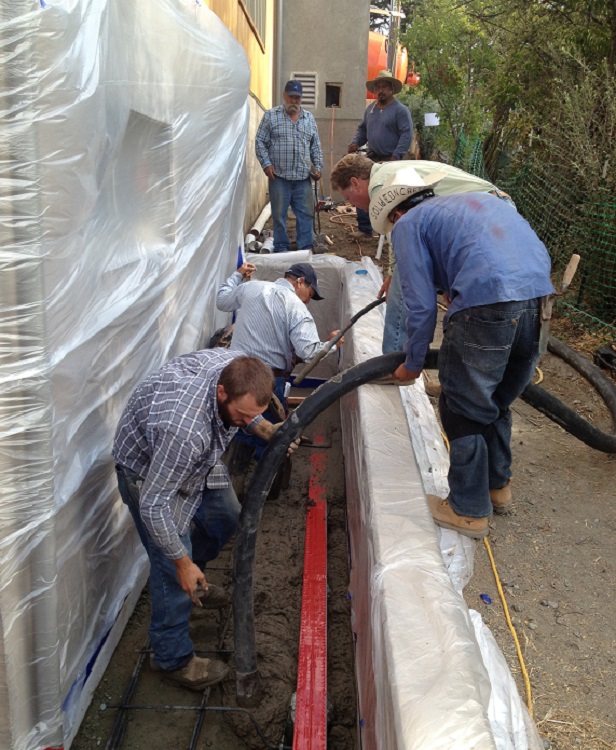
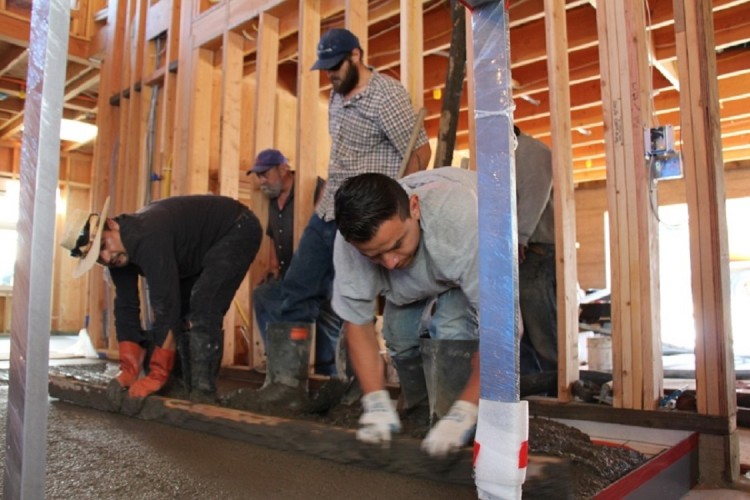
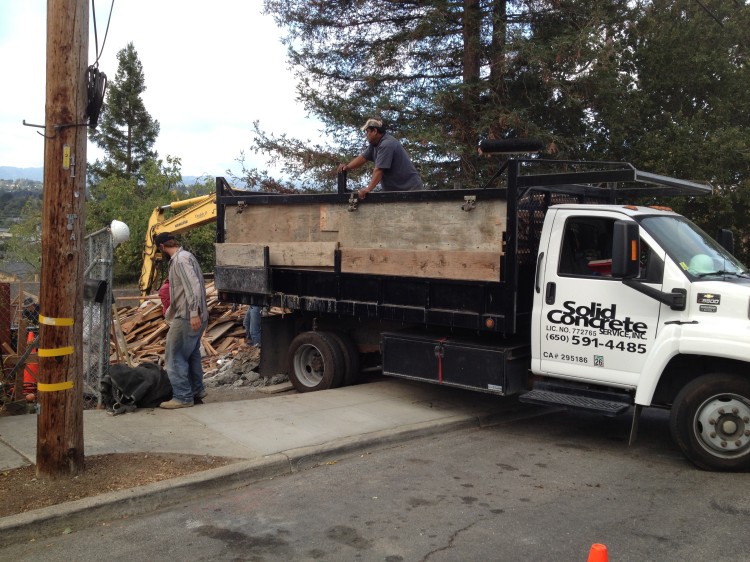
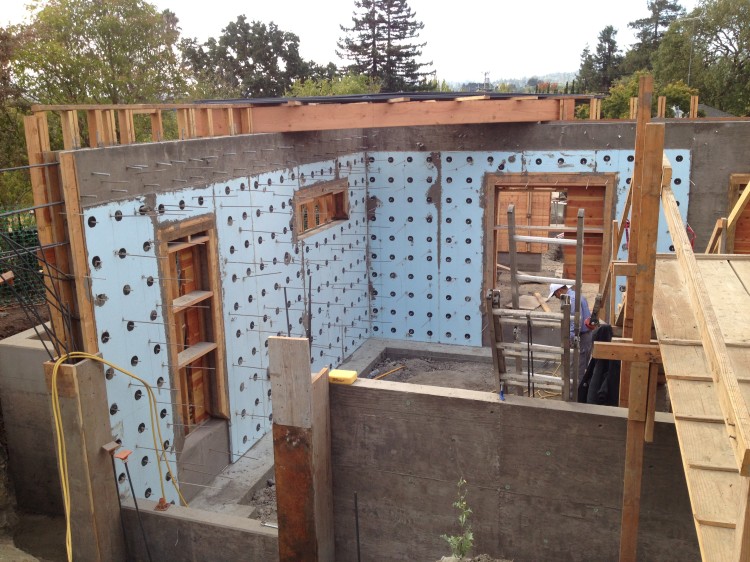
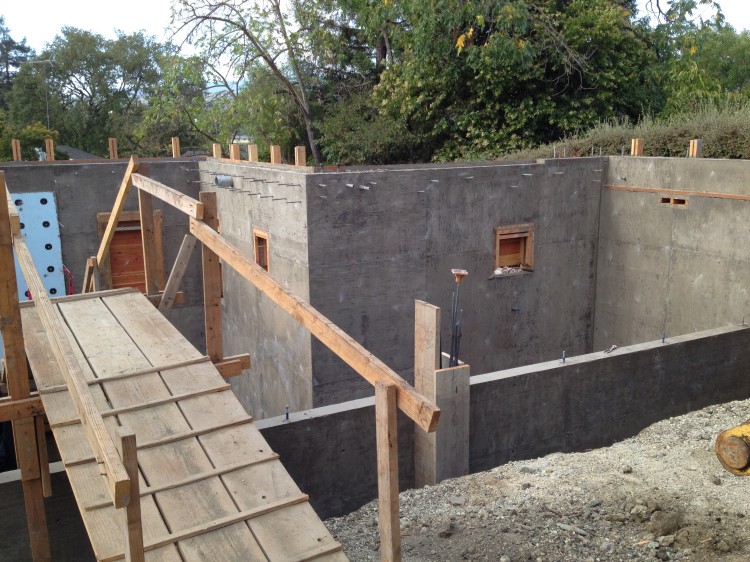
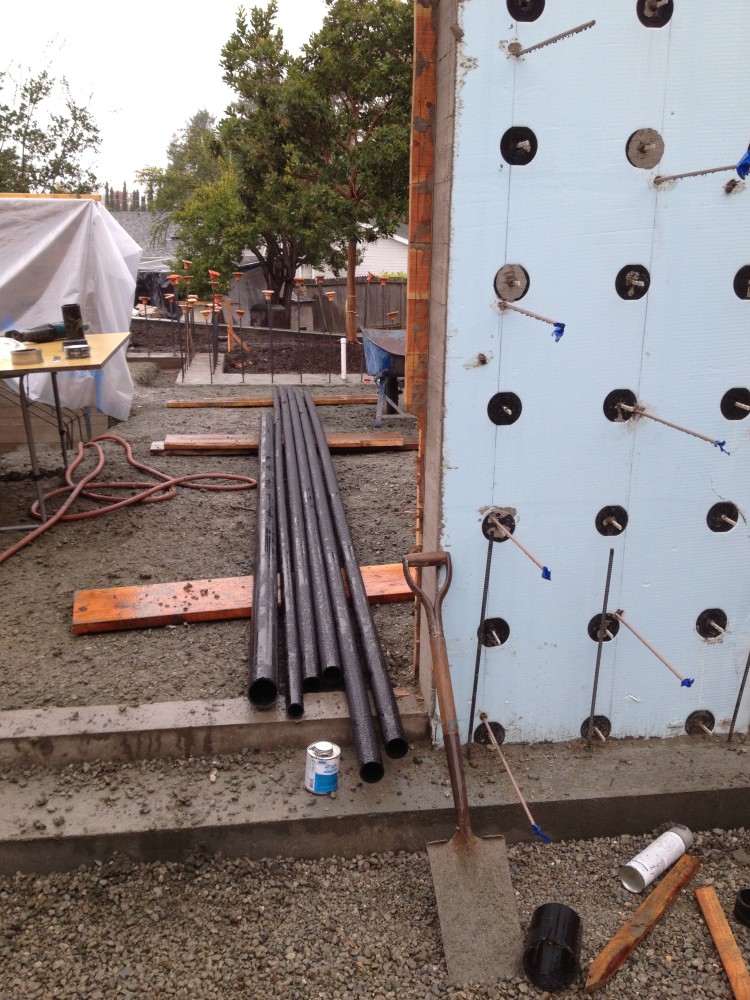
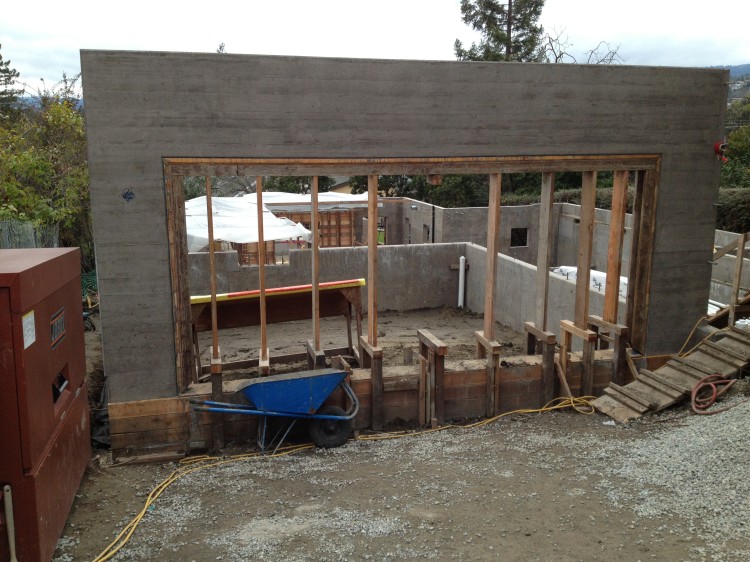
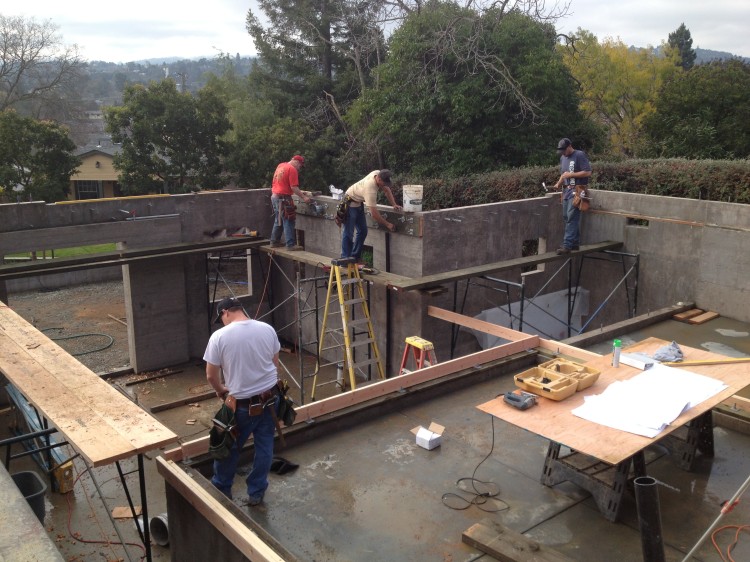
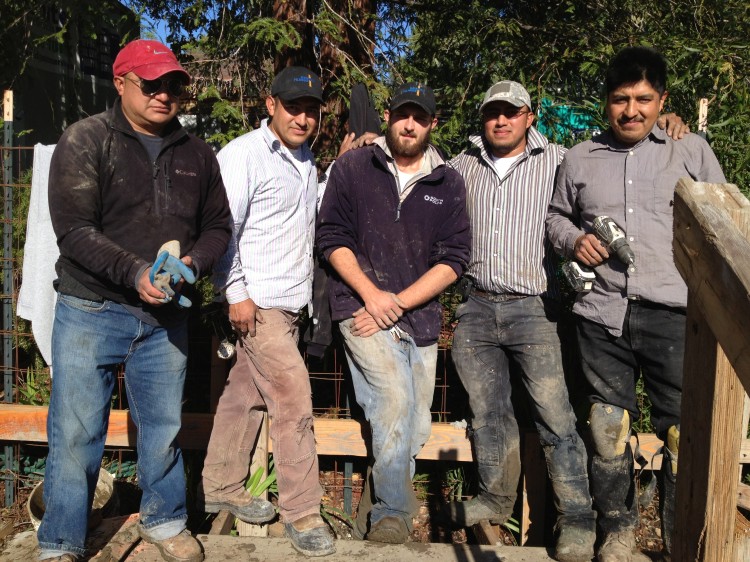
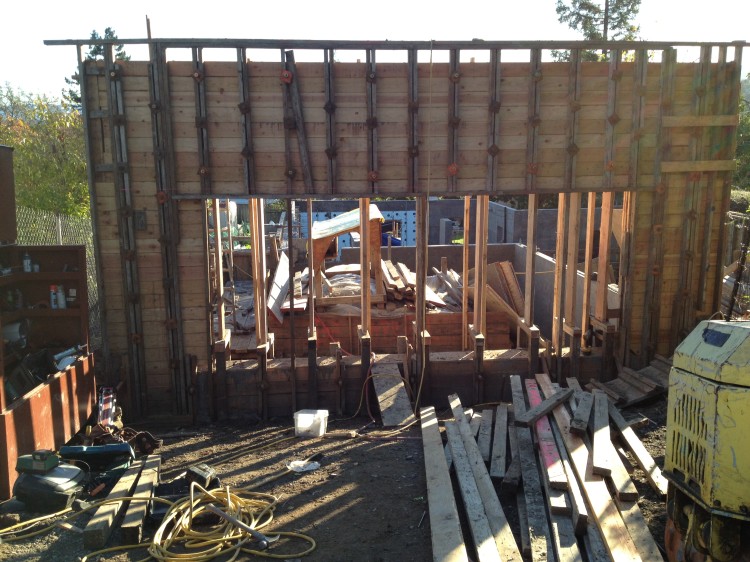
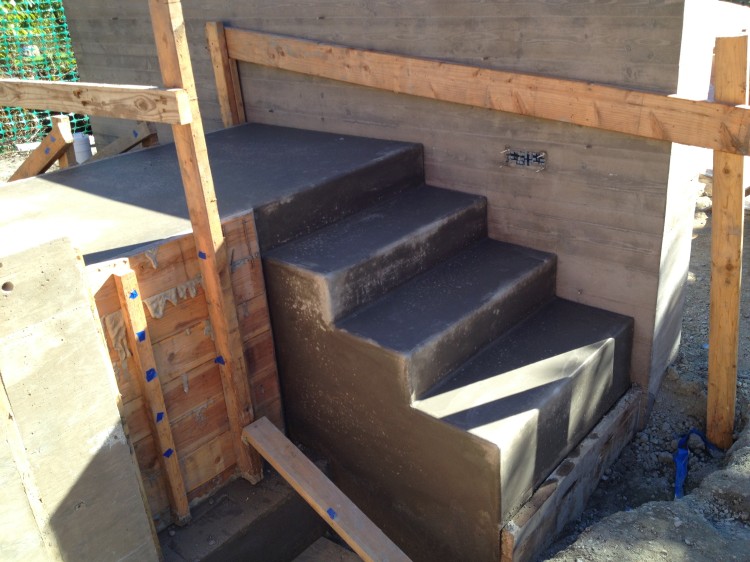
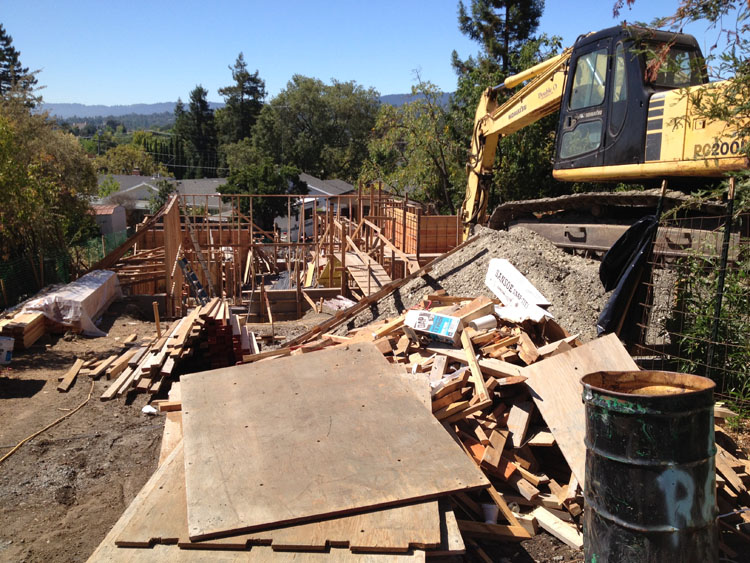
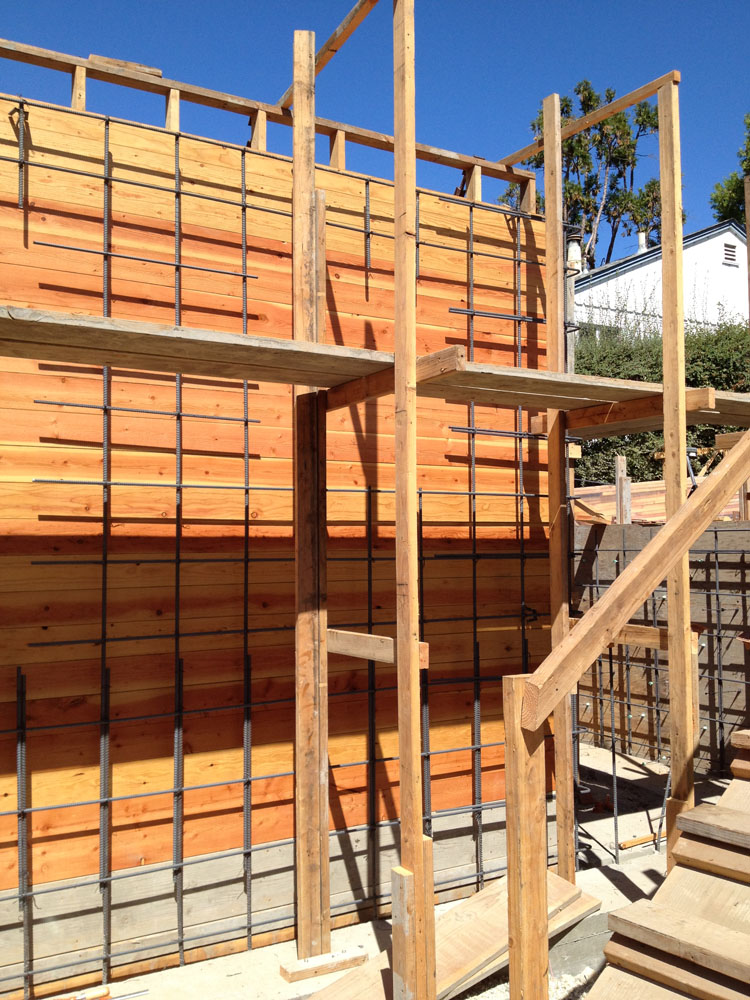
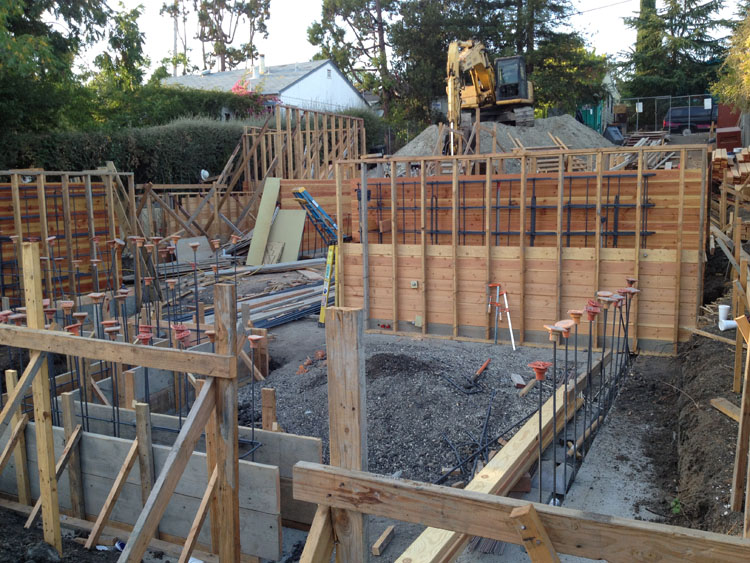
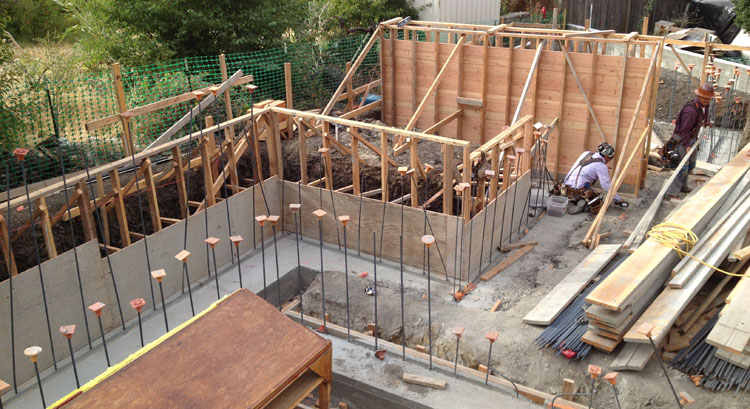
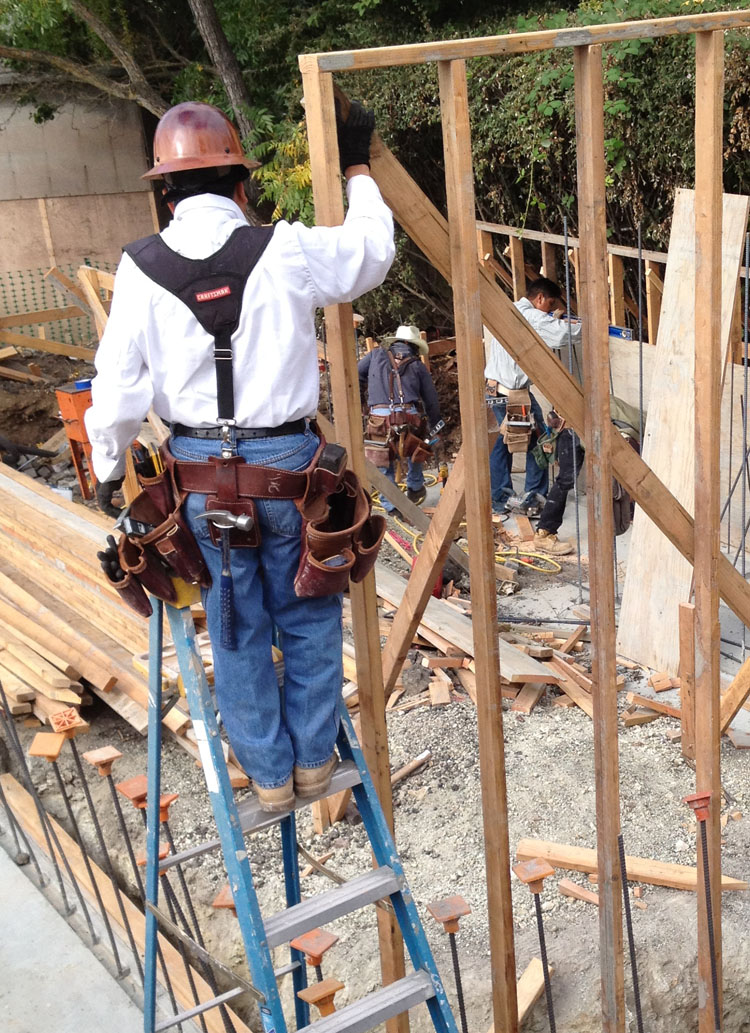
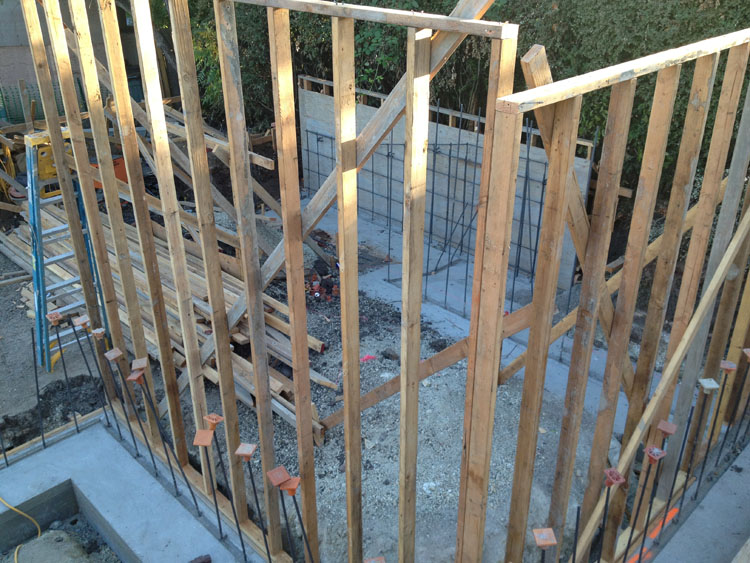
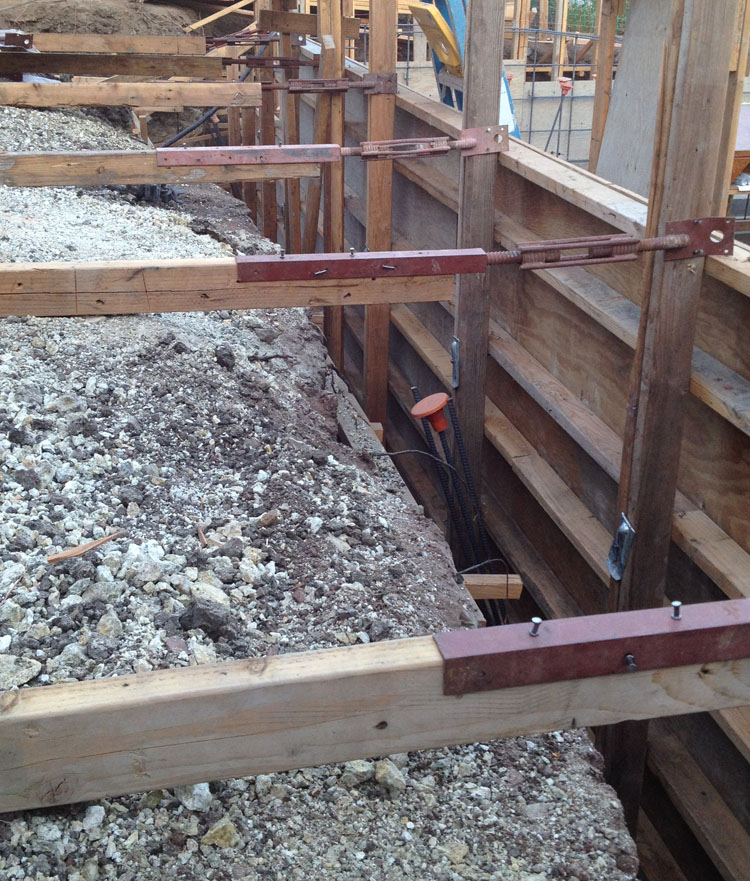
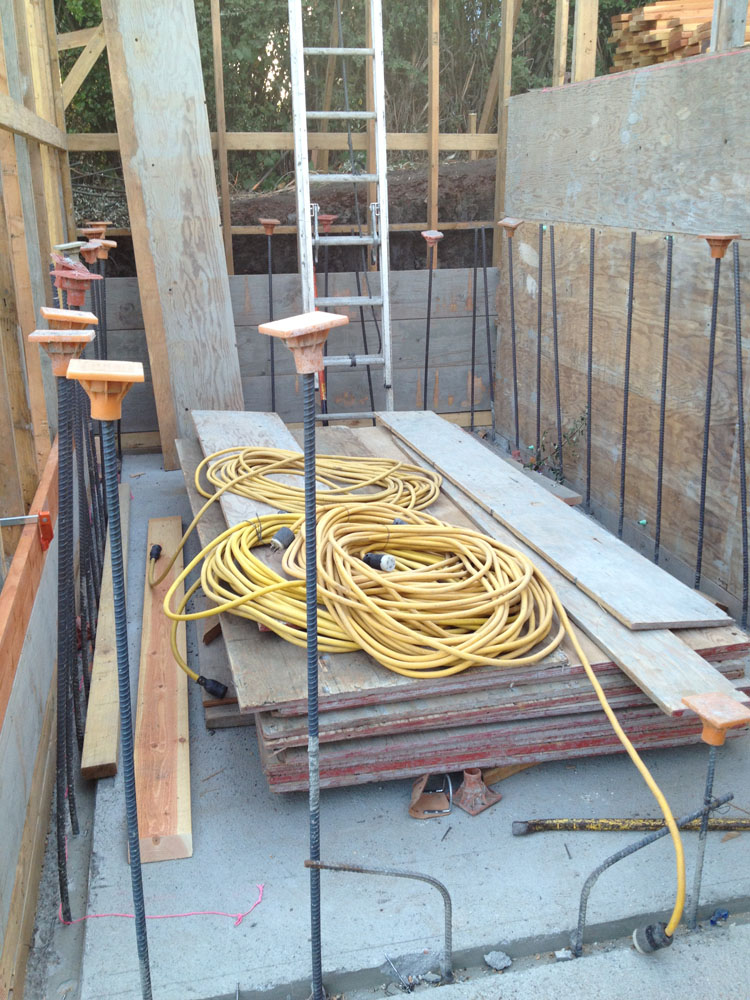
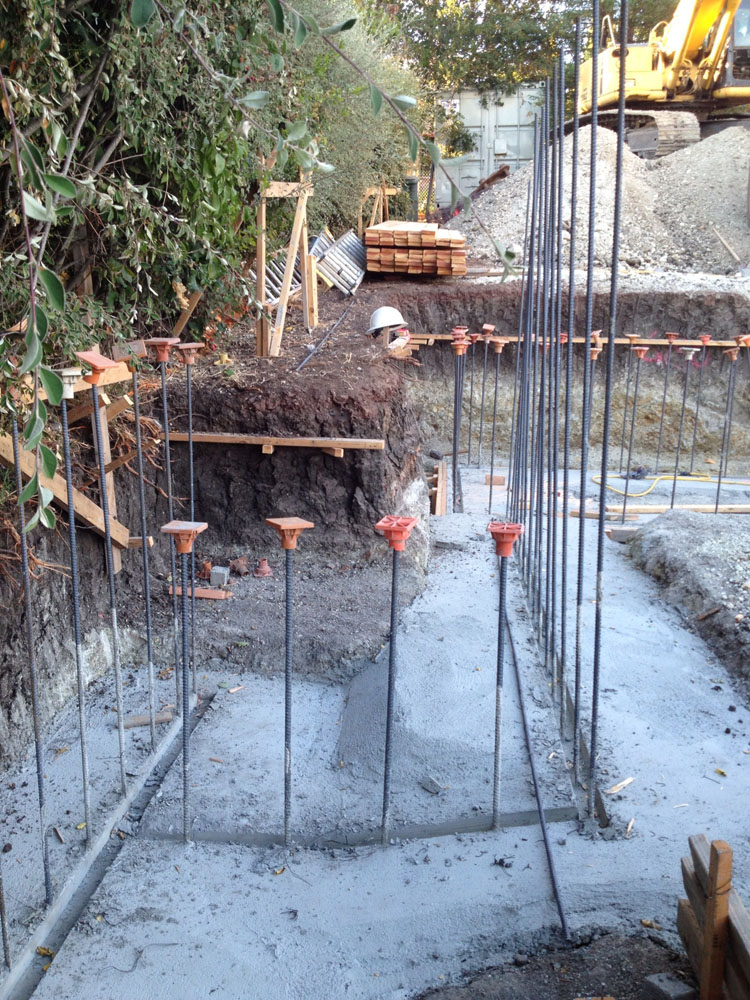
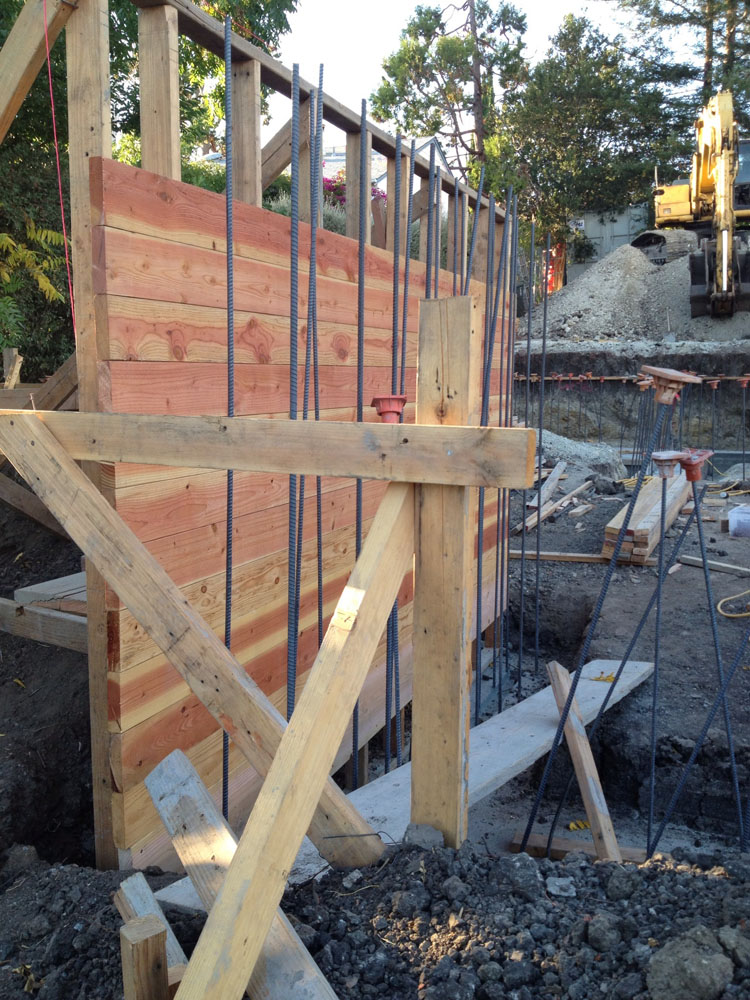
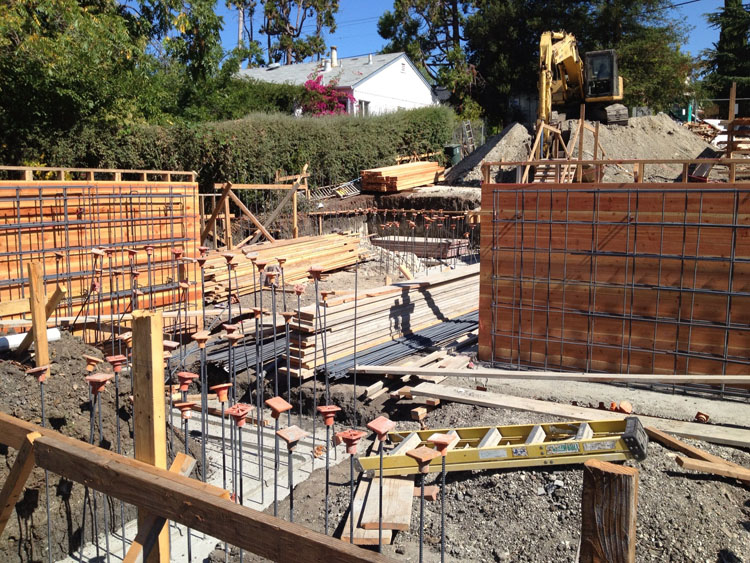
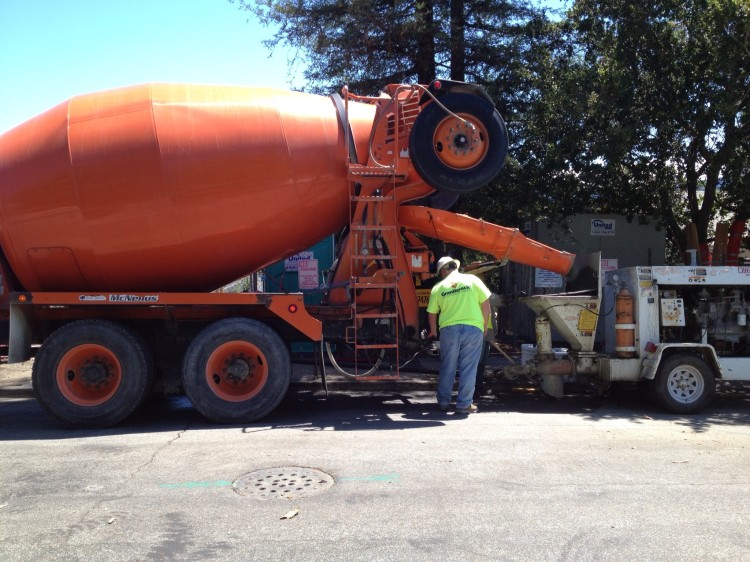
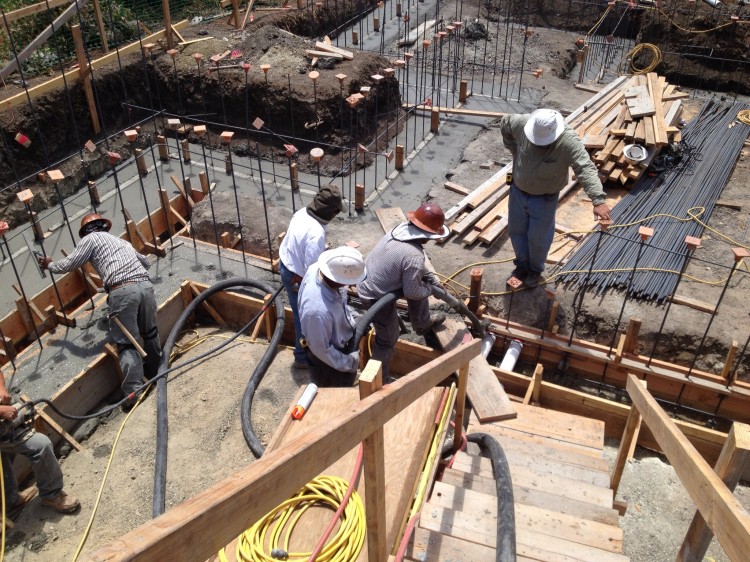
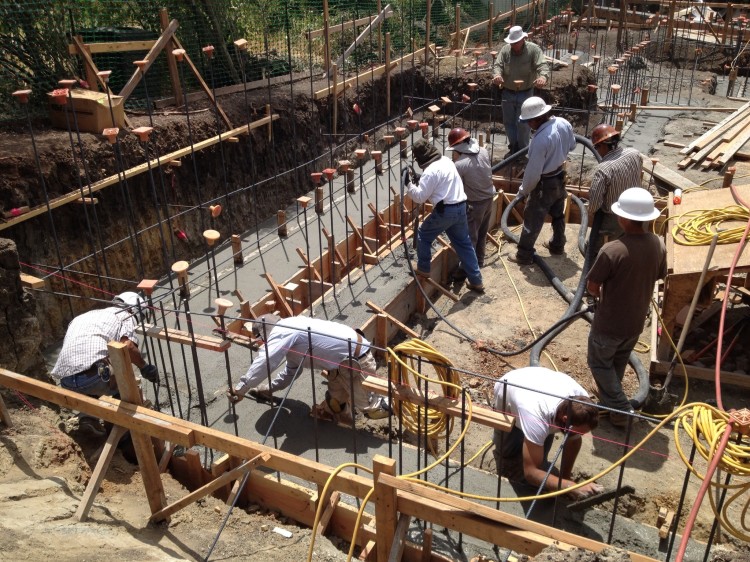
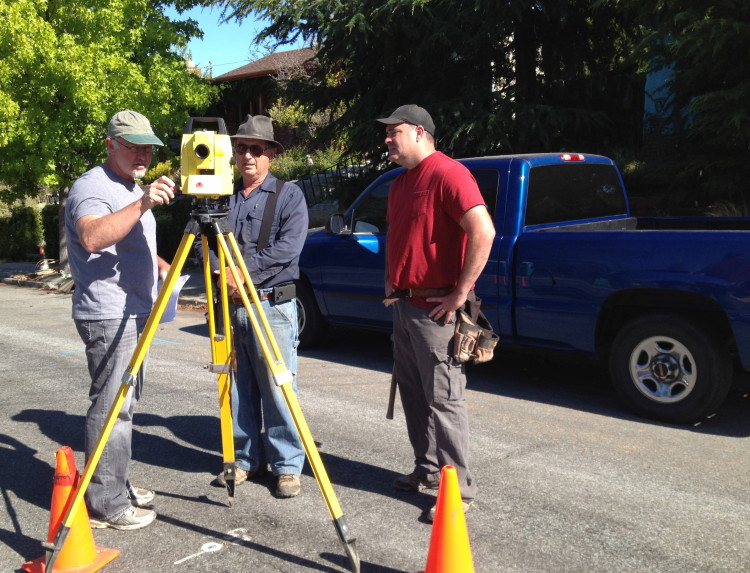
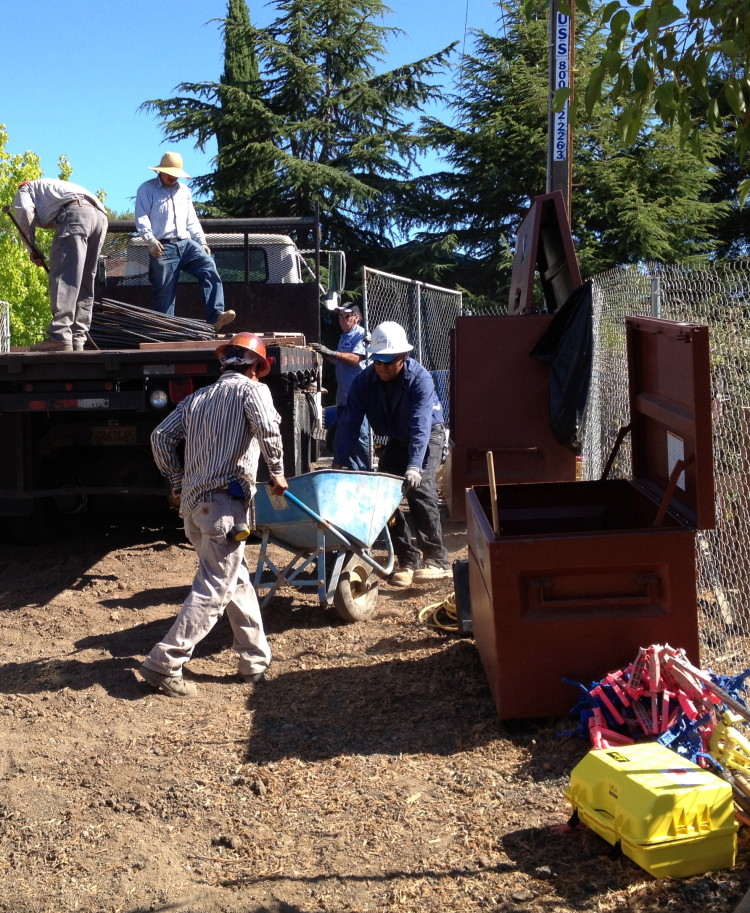
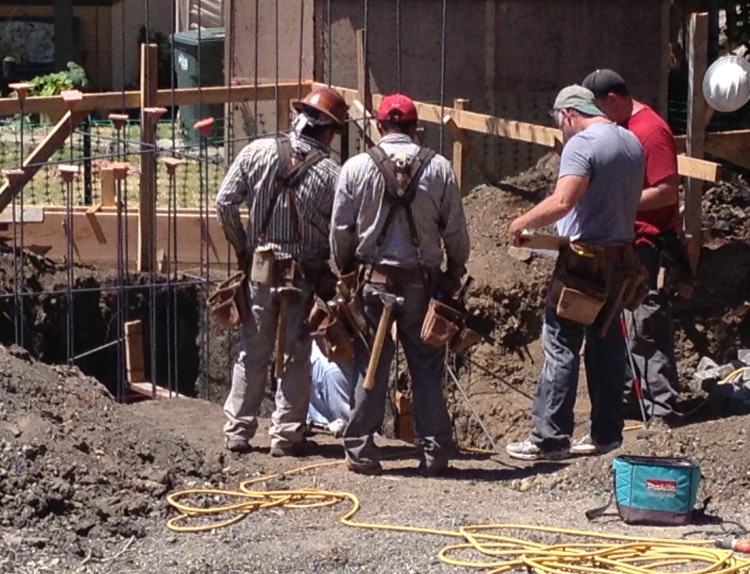
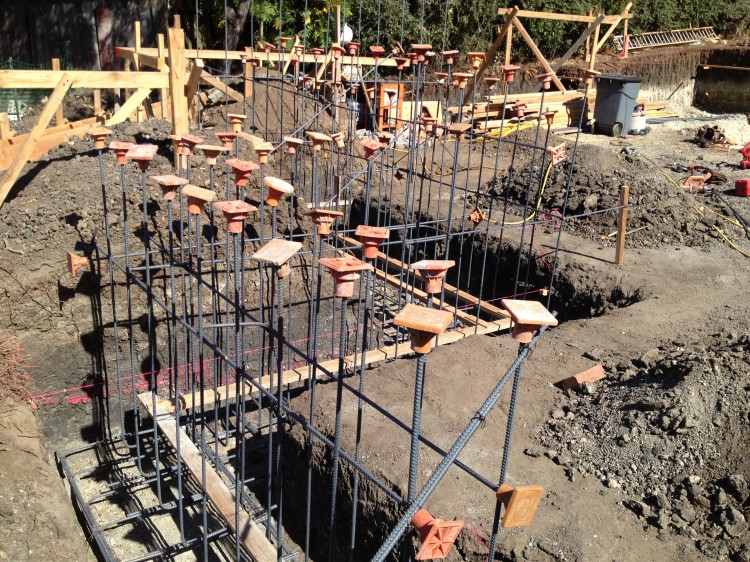
The first concrete to go in on a job site is a big deal. The footings for the lower level, various landscape walls, a fountain and bench, were poured by Solid Concrete in the middle of July on a really gorgeous day.  I was surprised at how many people were there working away to make this successful.

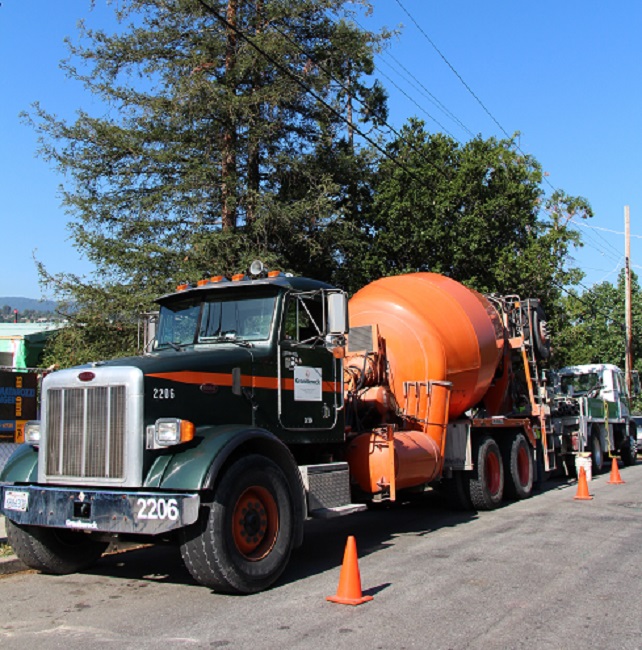
The arrival of the concrete truck is exciting for everyone because it doesn’t happen every day, even for concrete sub-contractors.  There were several trucks – they are sequenced carefully.  The concrete itself is provided by the concrete sub-contractor’s sub-contractor!

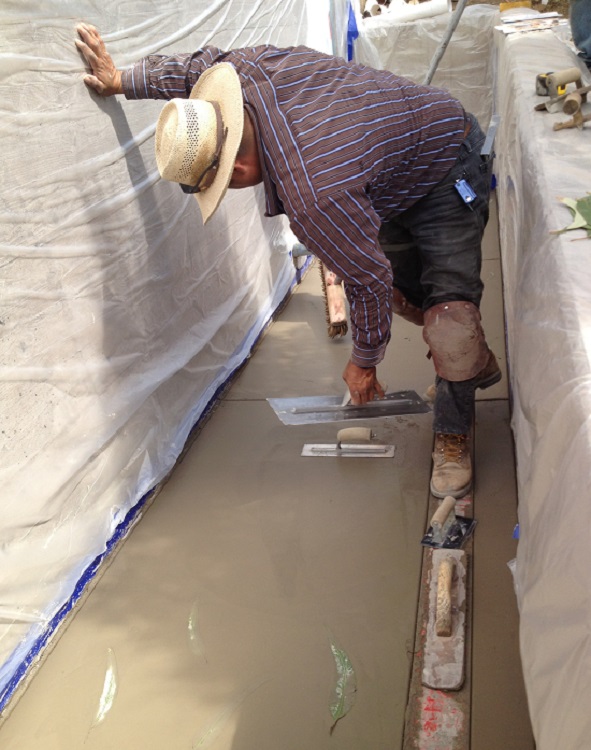
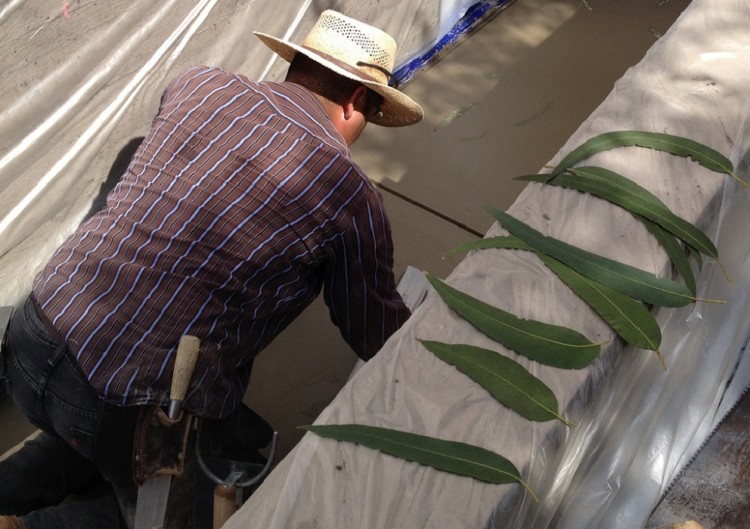
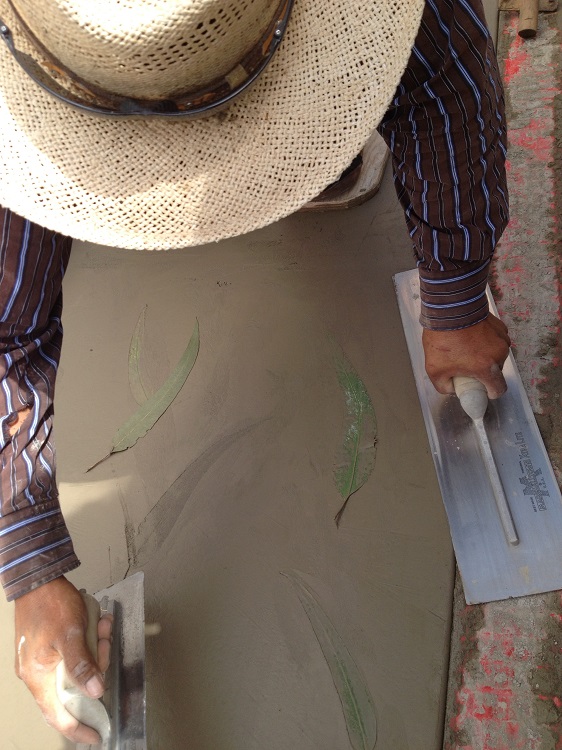
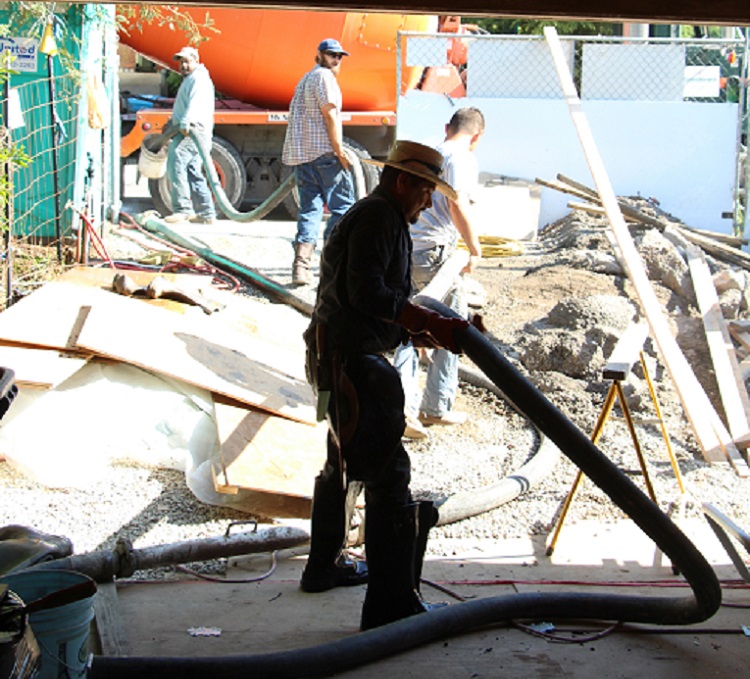
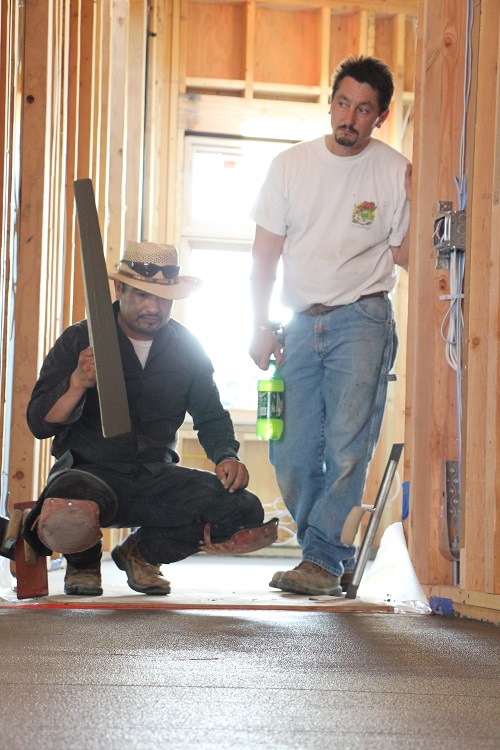
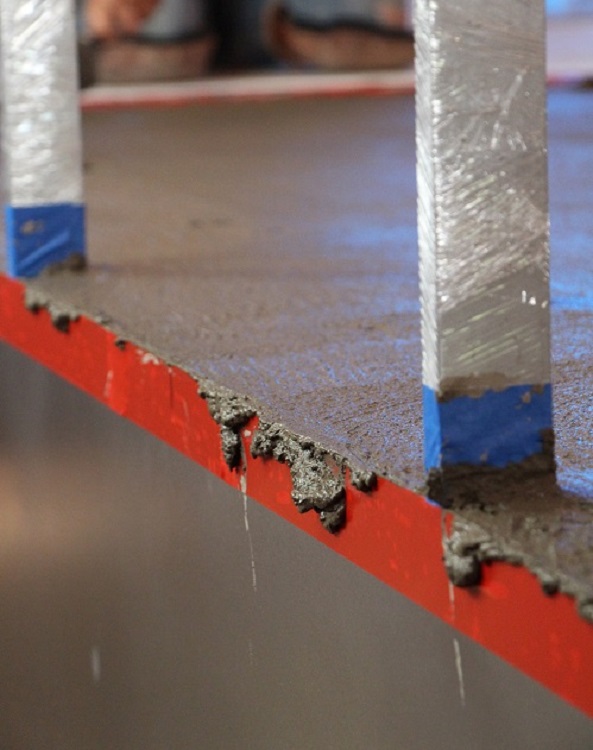
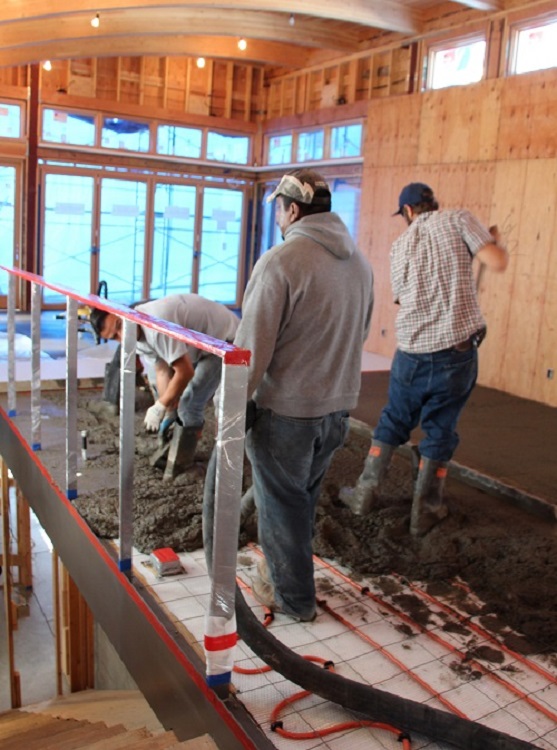
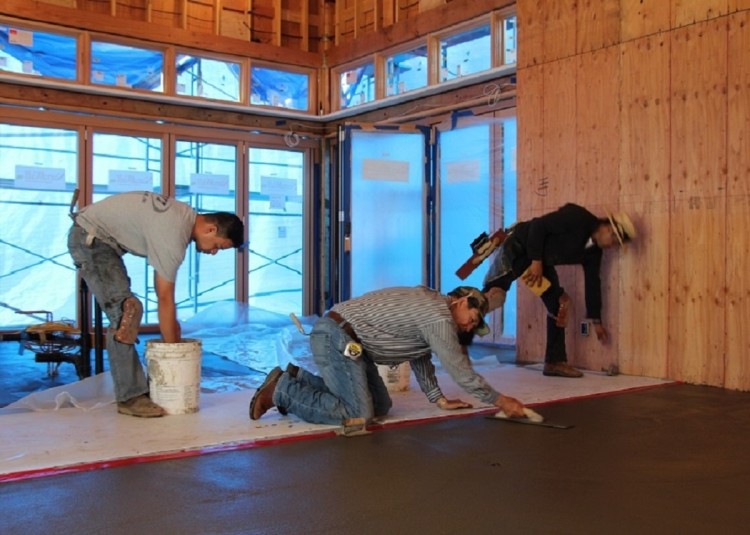
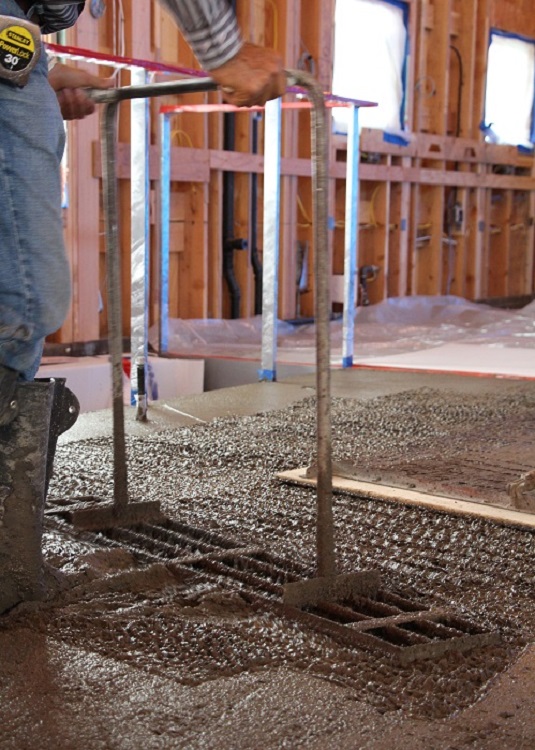
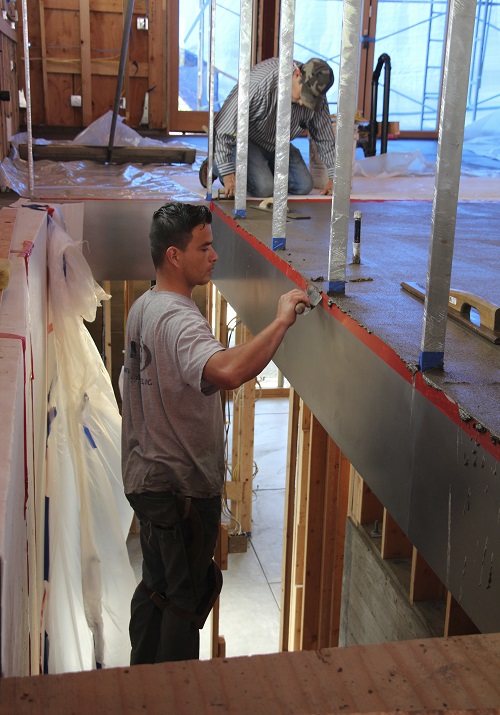
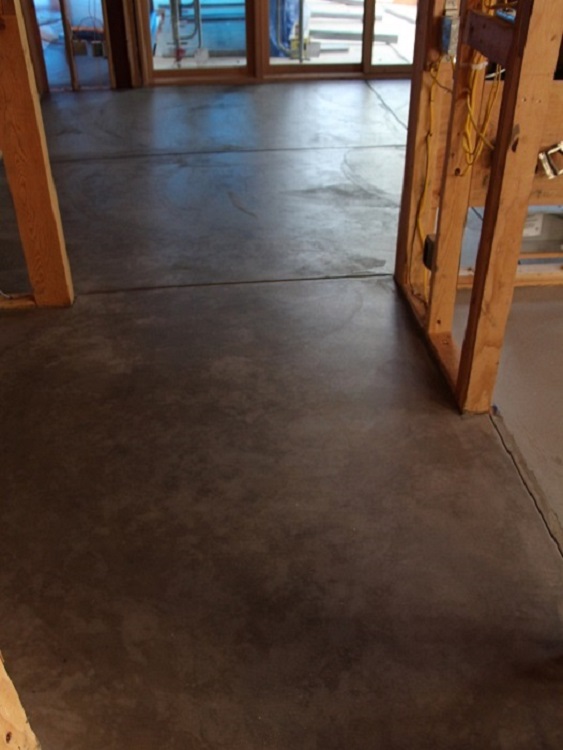
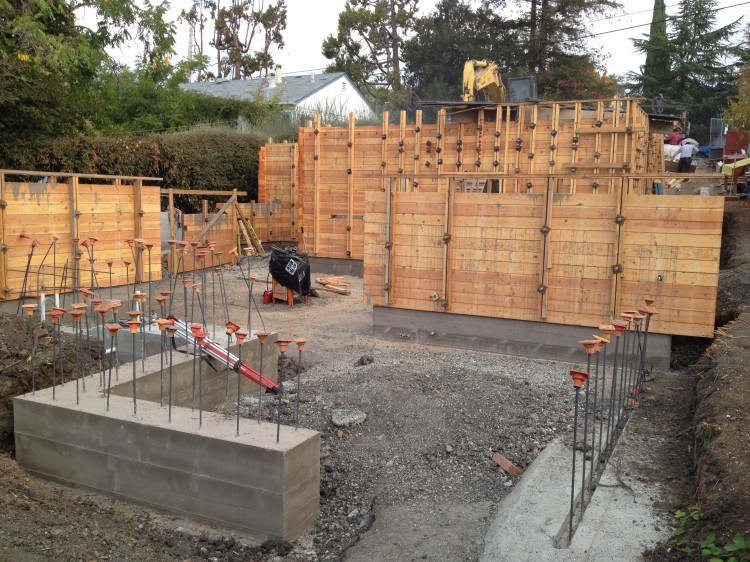
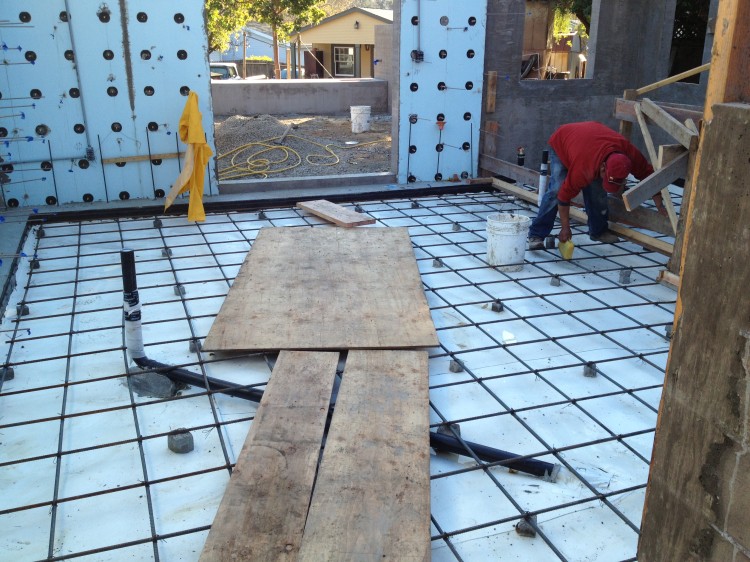
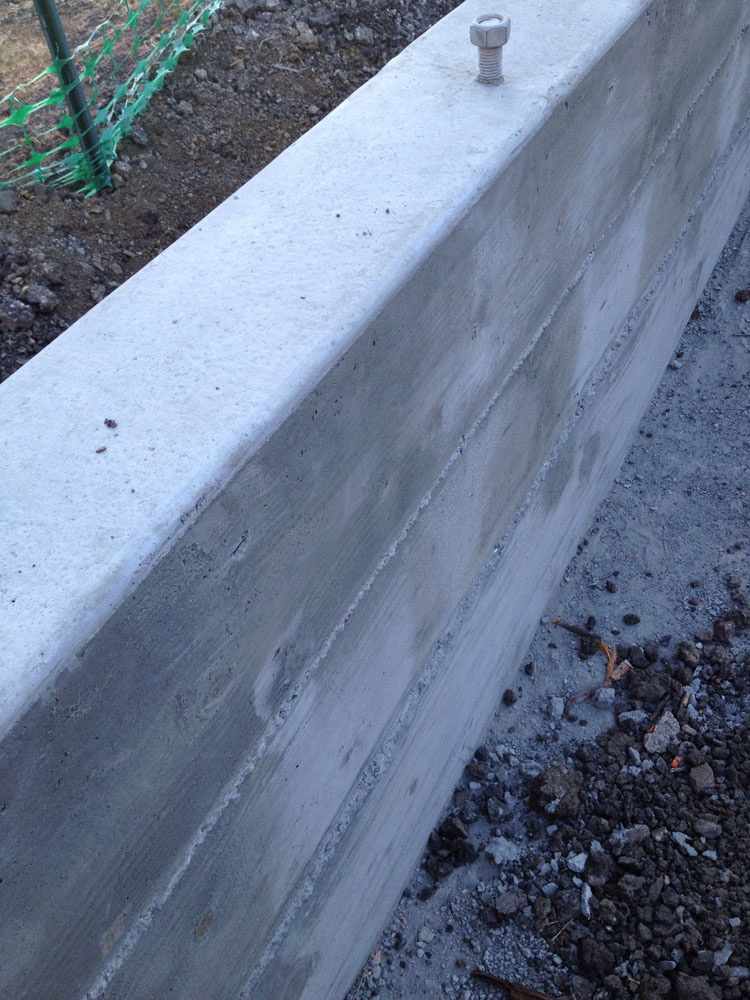
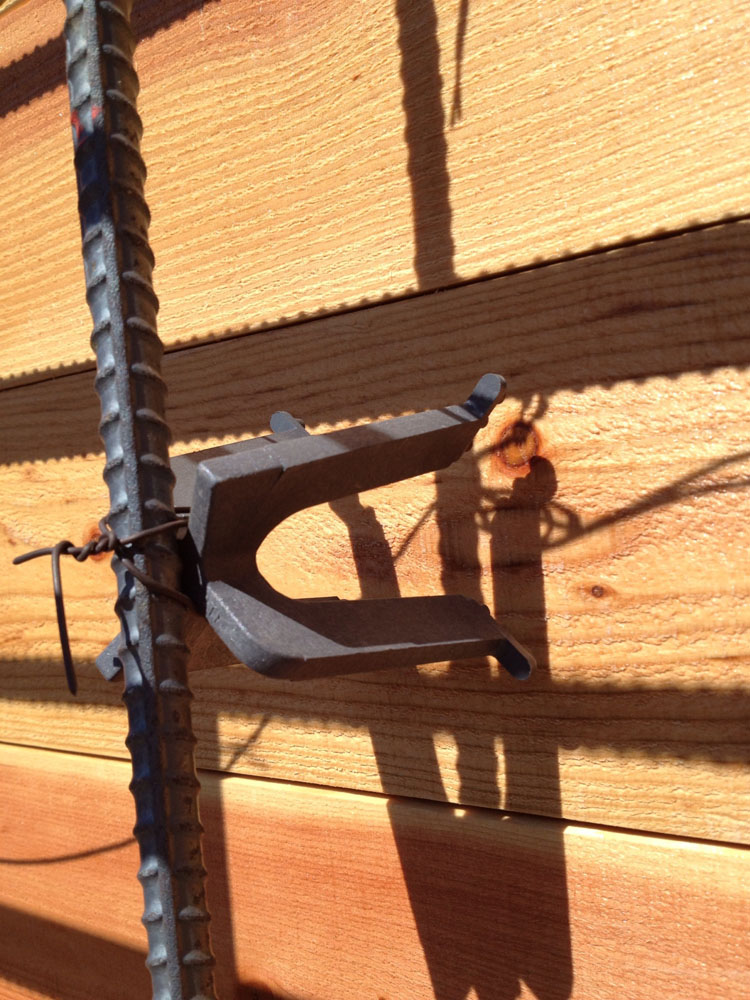
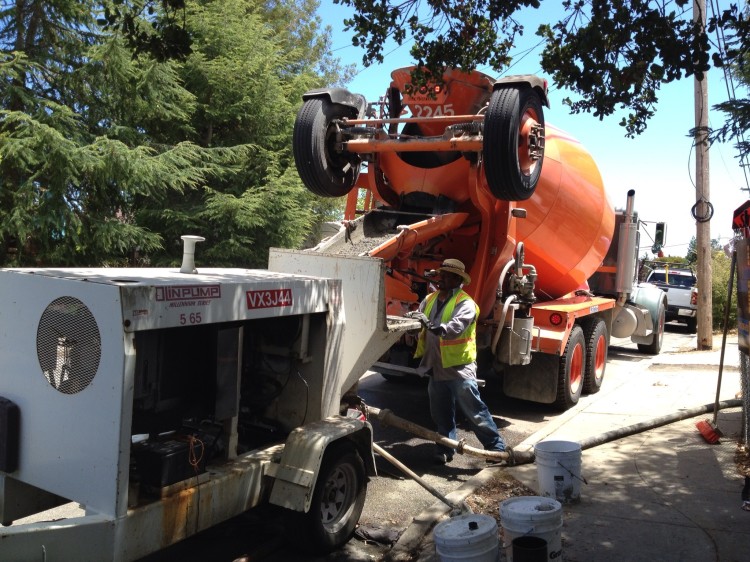
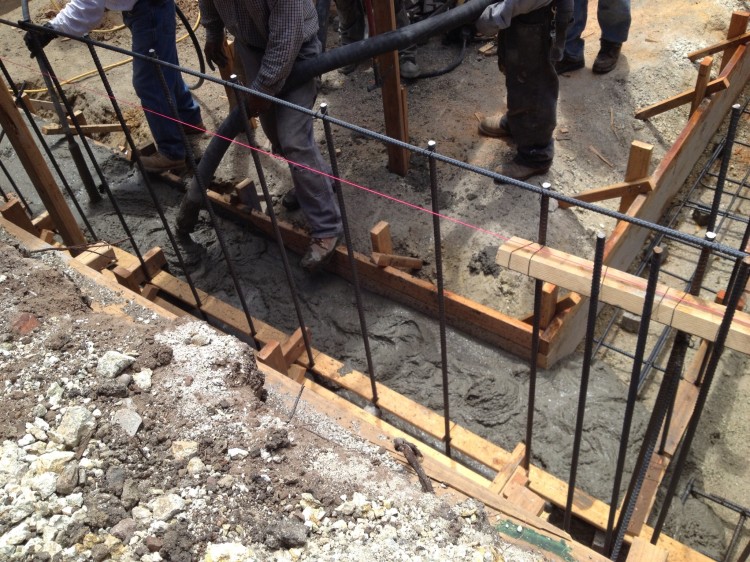
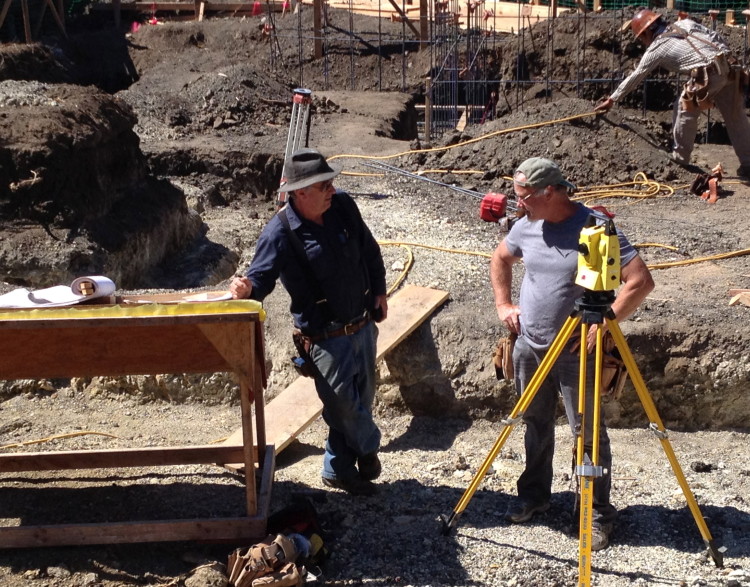
The in line pump got the concrete from the street to quite far back on the lot.  The man in charge of the pump used a remote control to manage the output.  As soon as the concrete is pumped, it must be vibrated to get rid of air bubbles.  Then the top is smoothed.  The concrete takes a few days to set.

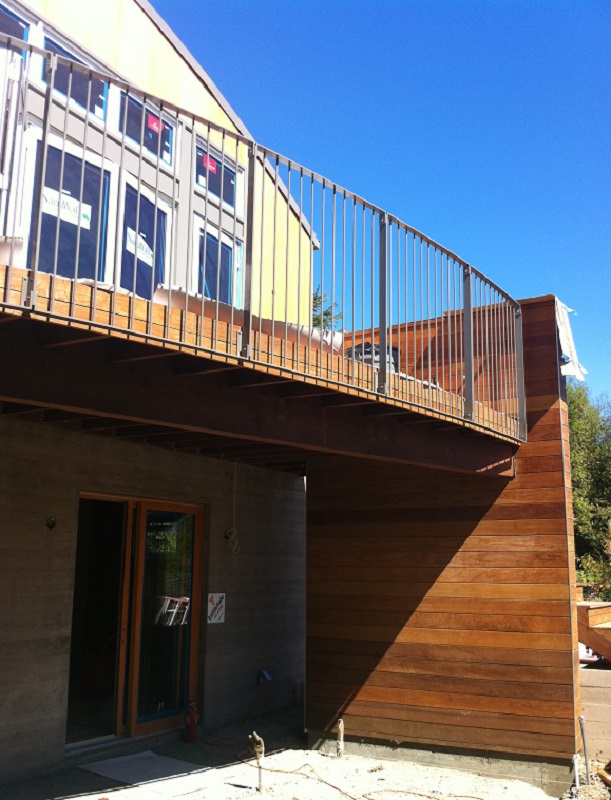
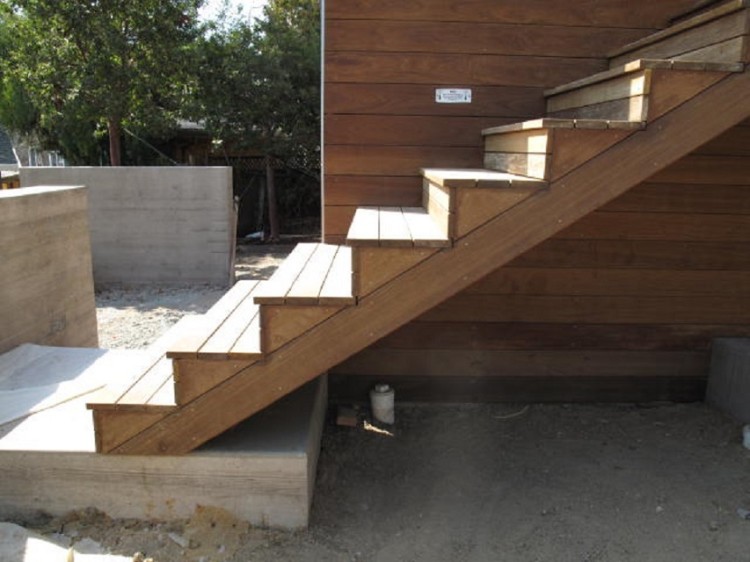
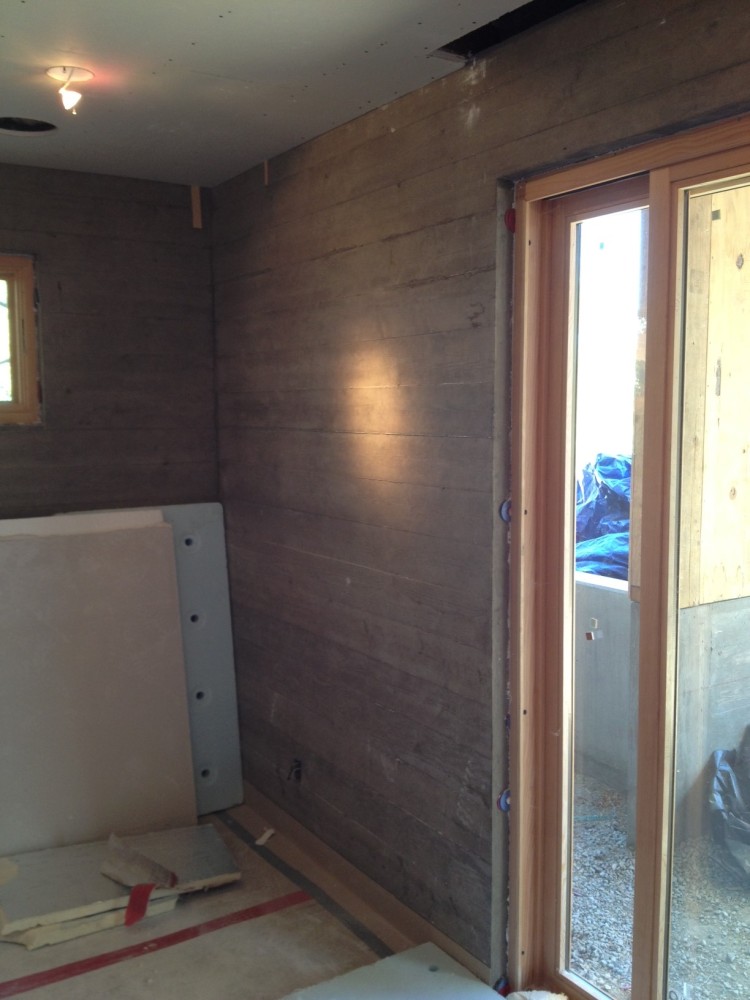
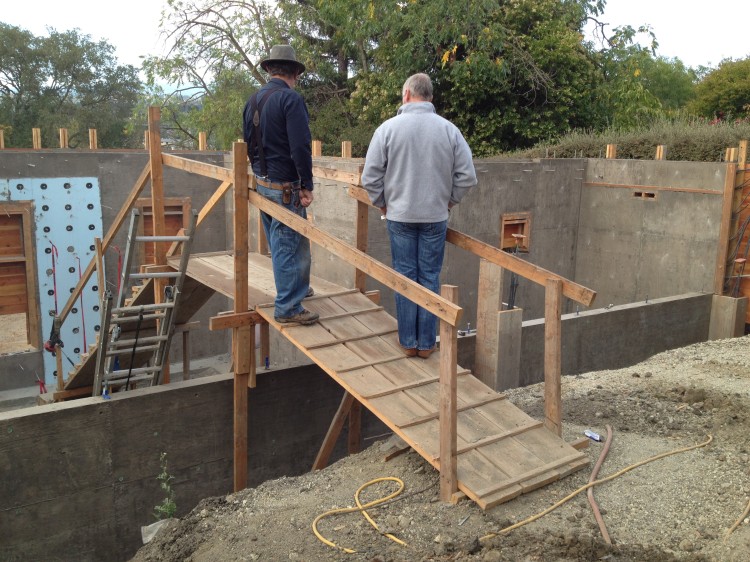
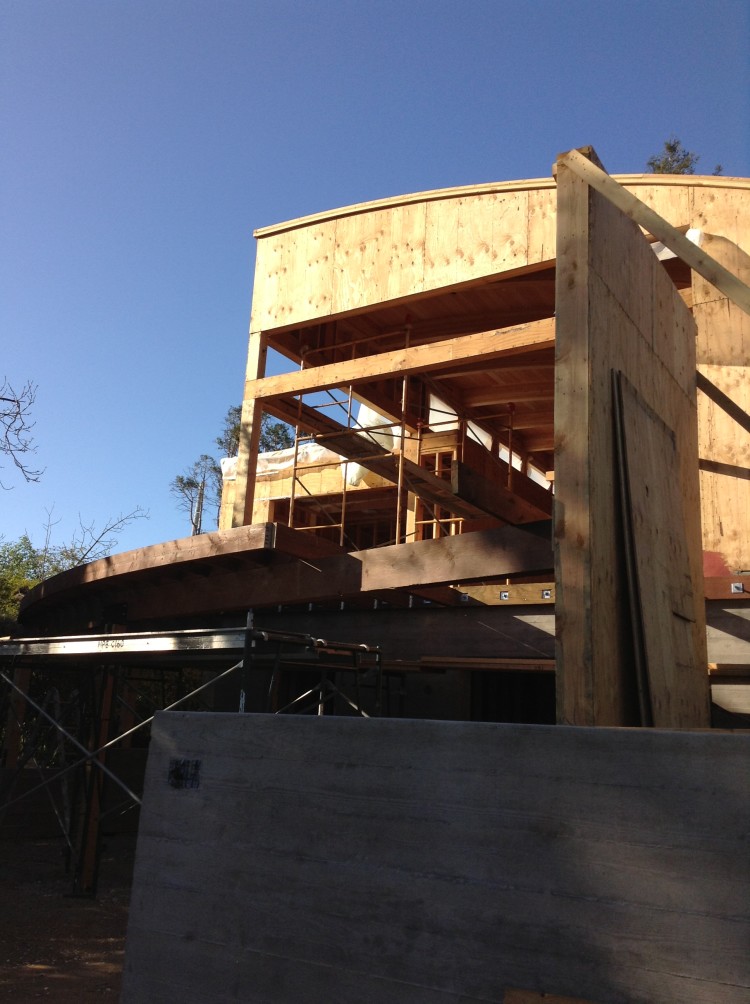
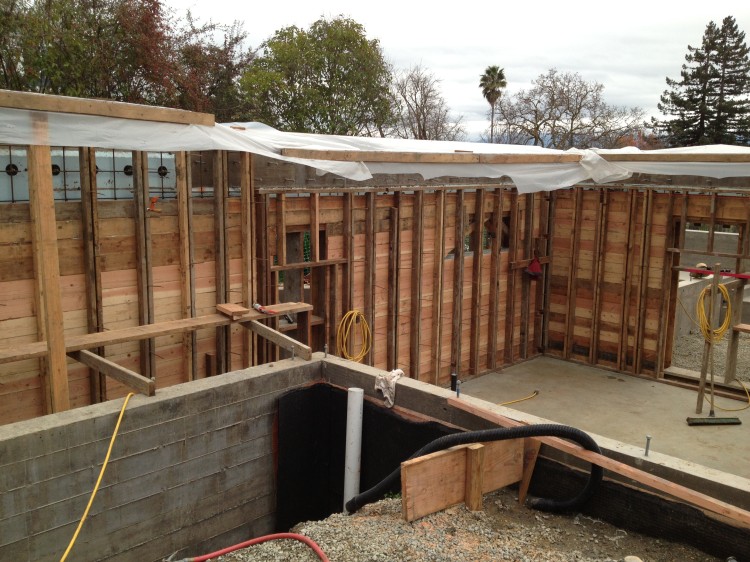
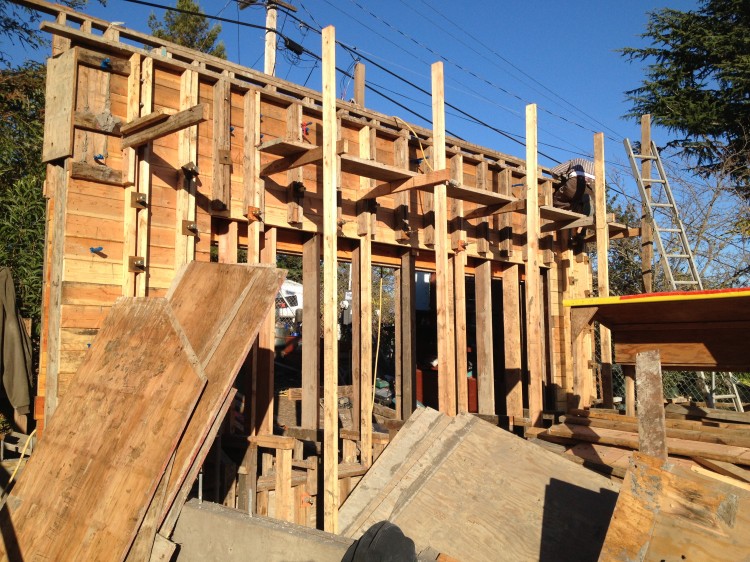
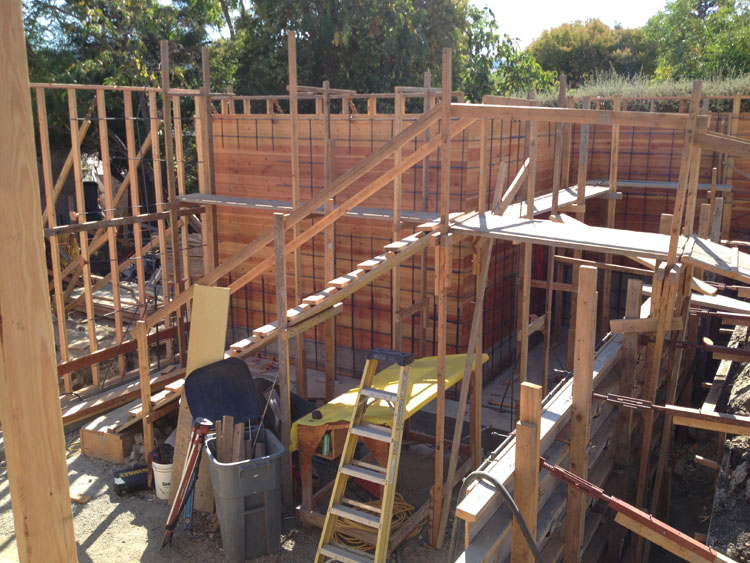
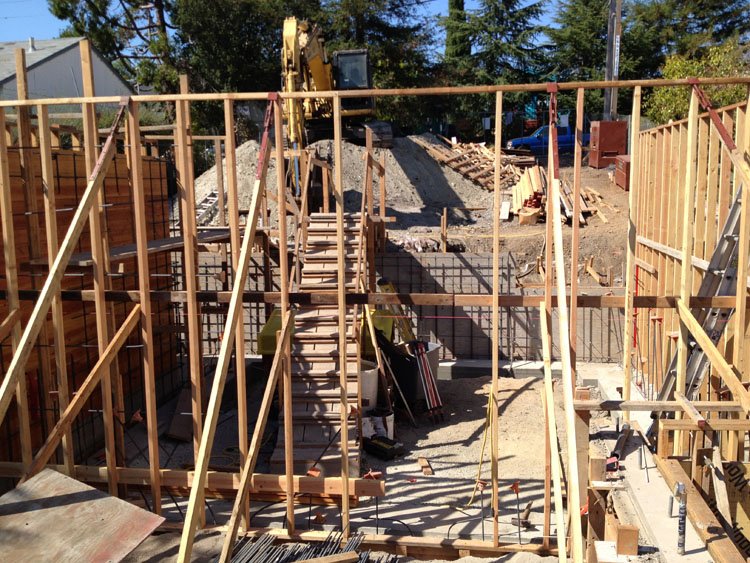
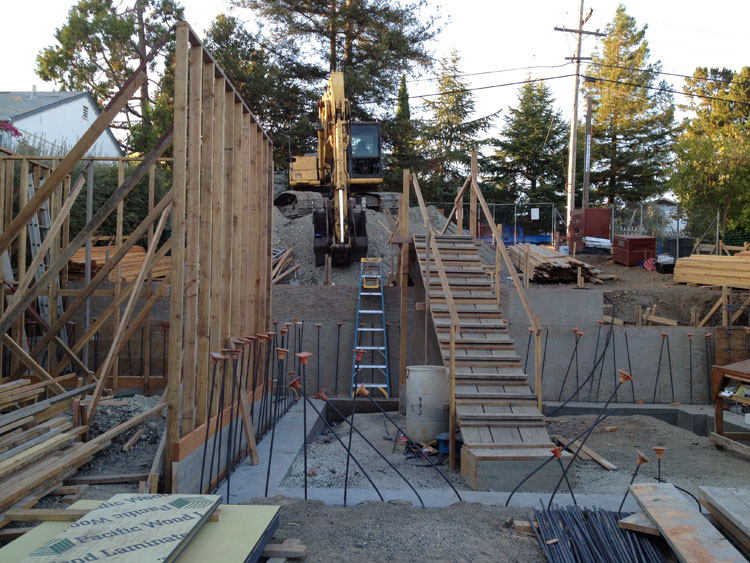
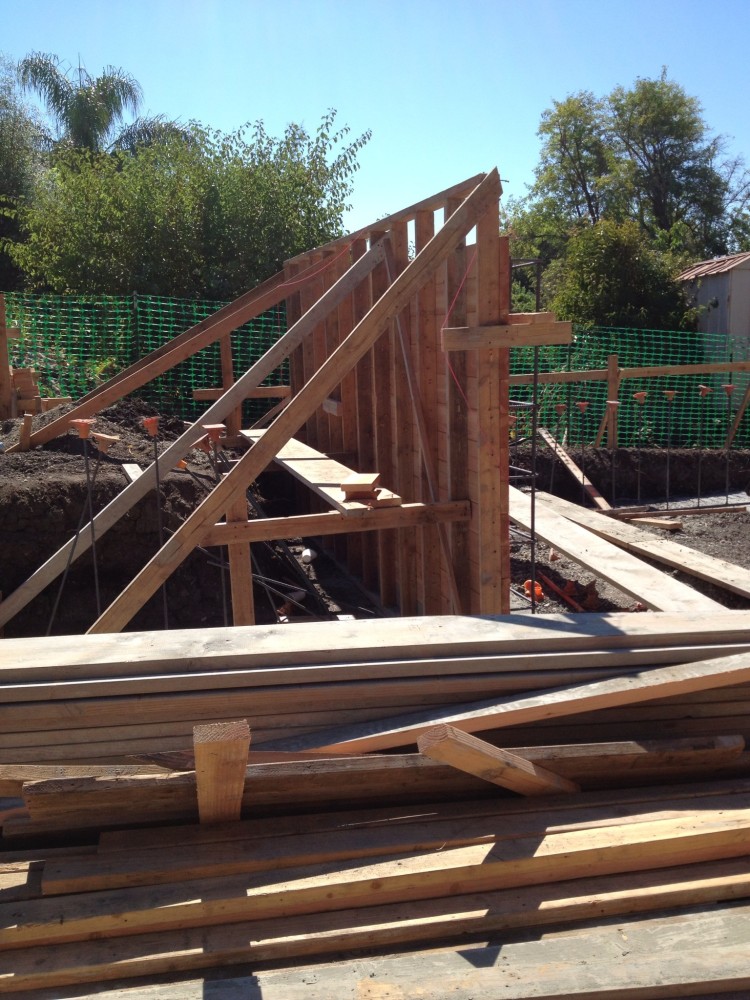
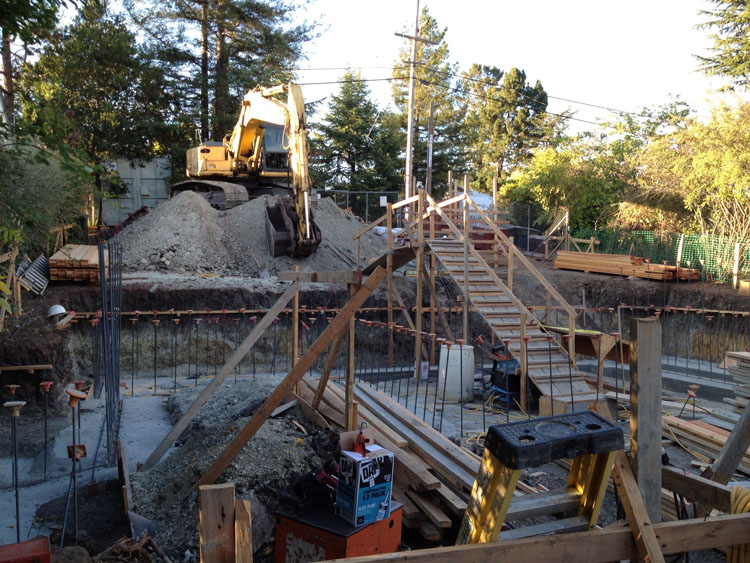
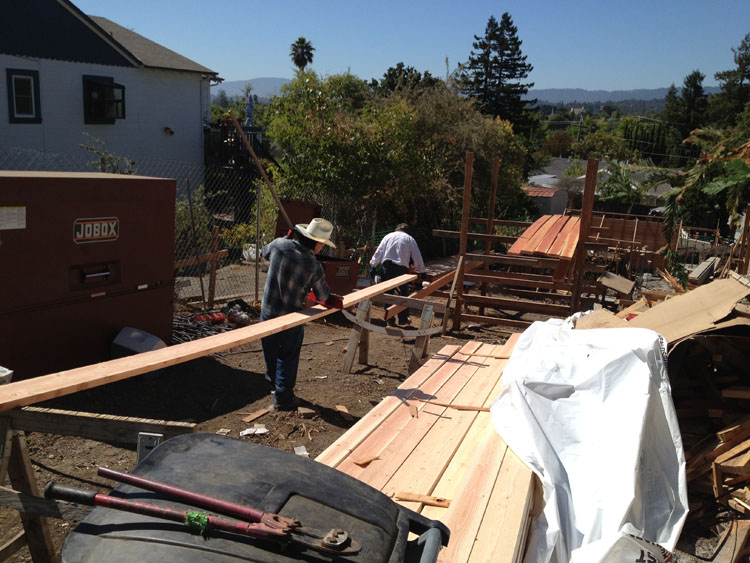
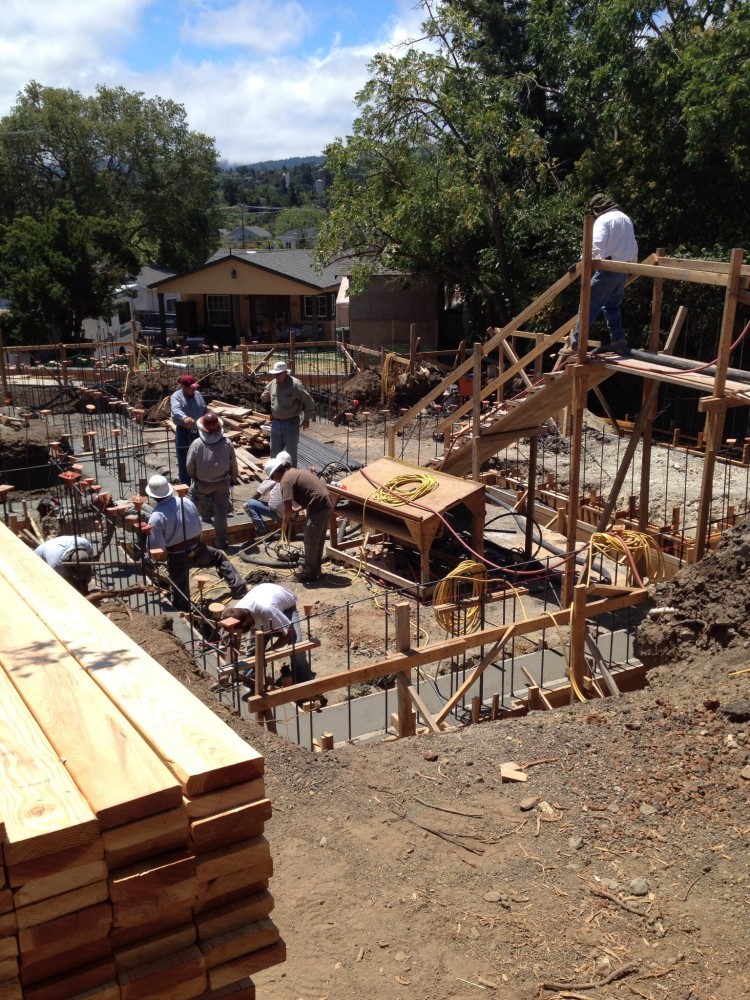
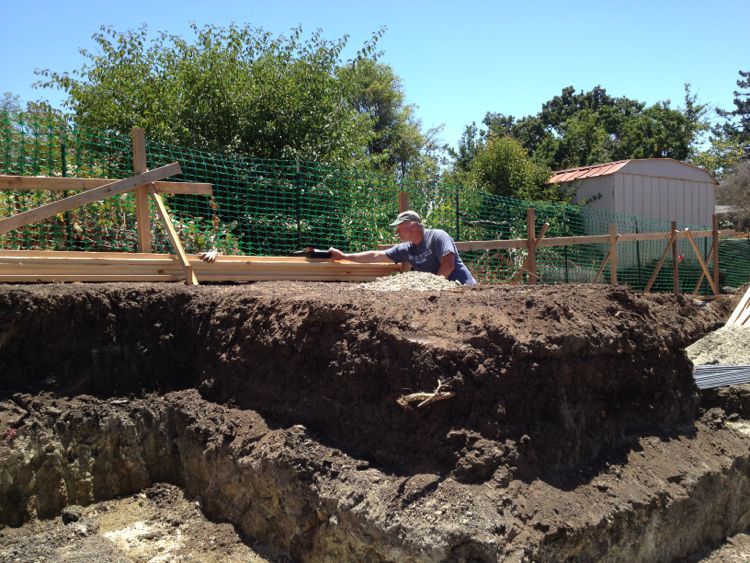
I really like the wooden bridge that was built to create safer access to the work area.  Our lot has a slope and the front half will remain dirt and this bridge makes working much easier.

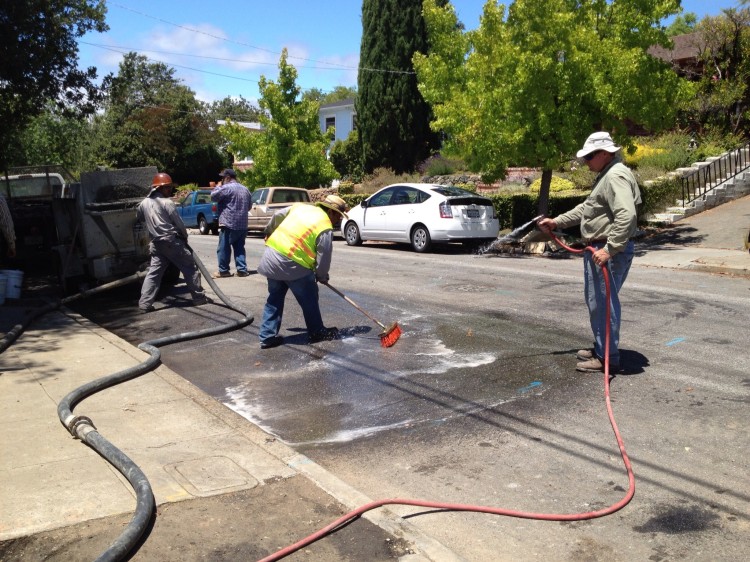
Clean up on the street is an always for Solid Concrete.  They see the importance of tidying up and not only do we appreciate it but so do the neighbors.

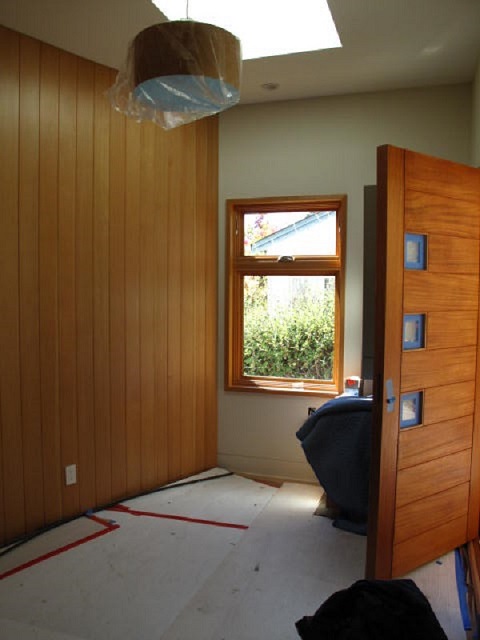
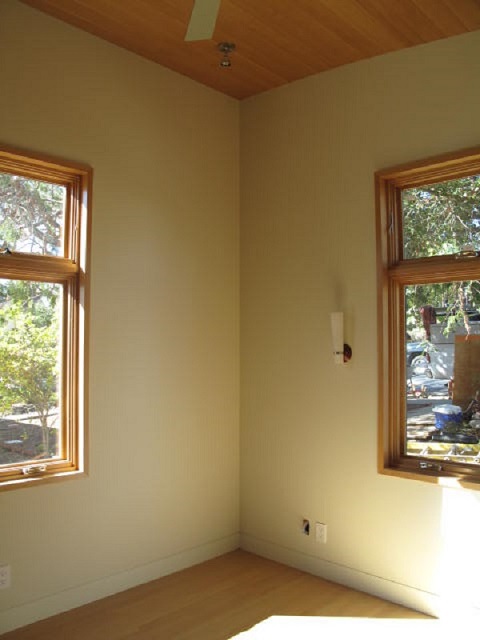
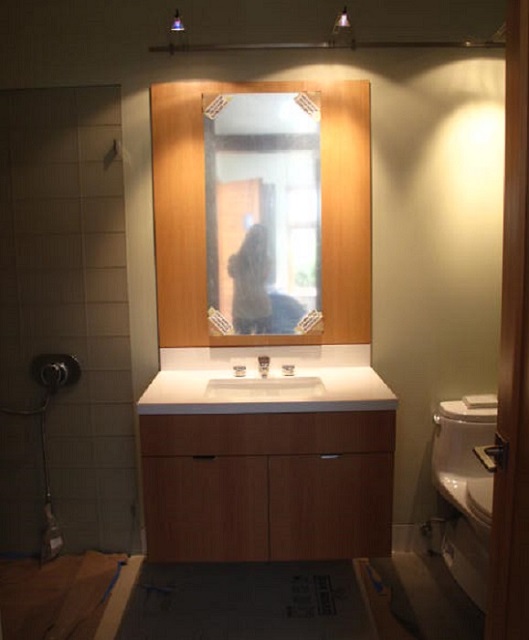
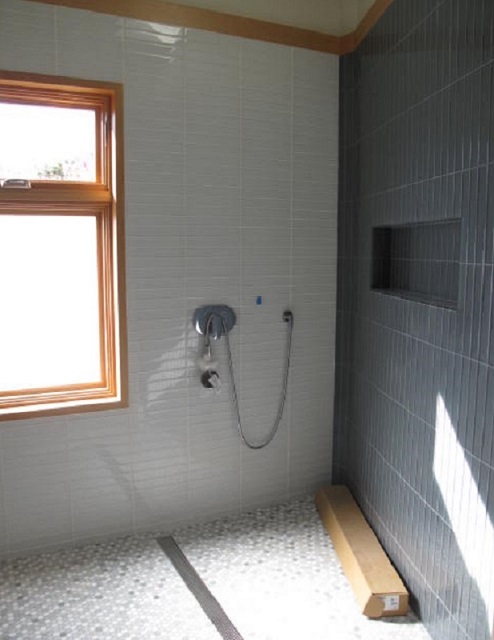
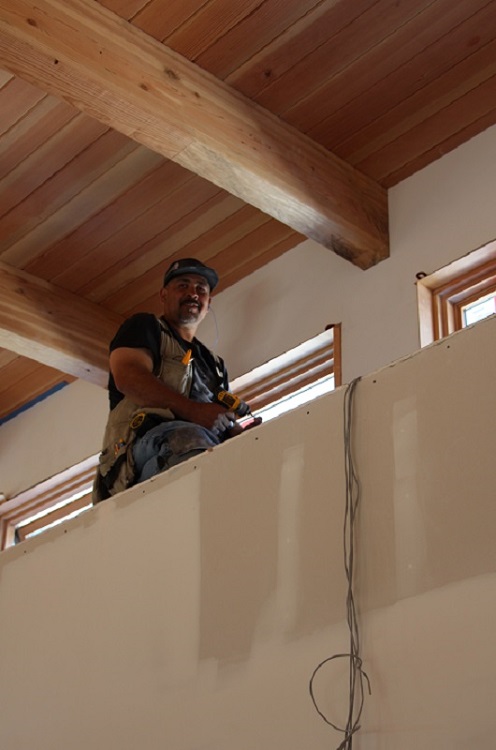
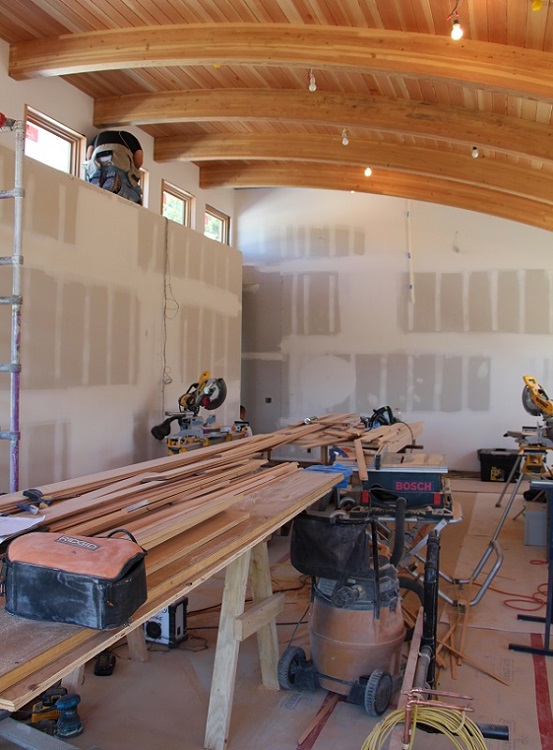
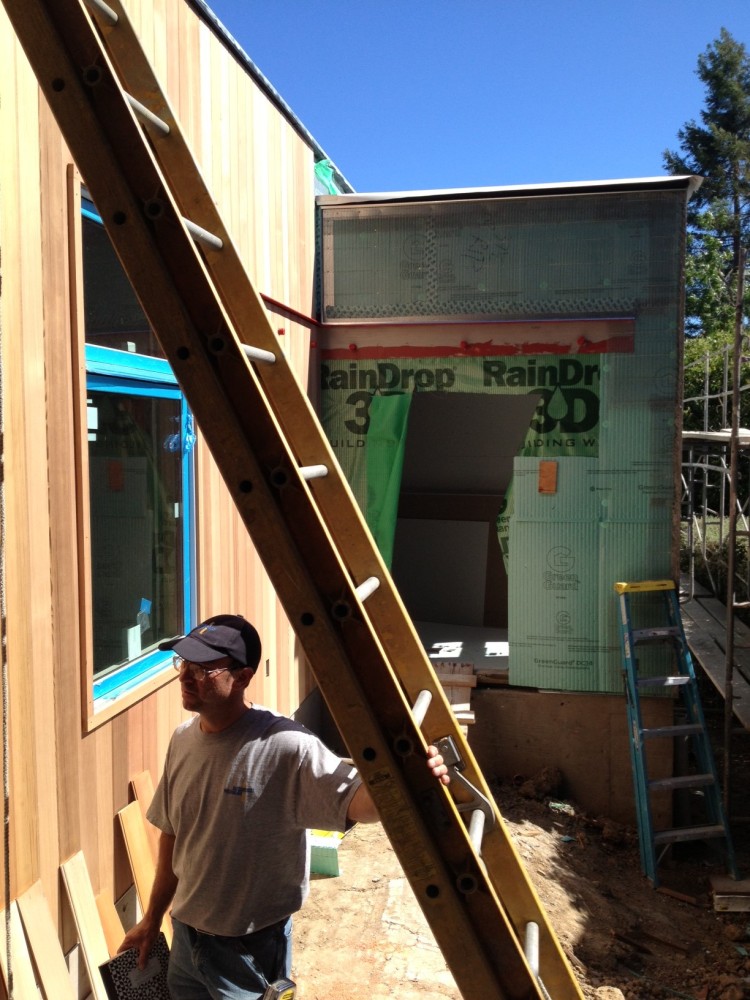
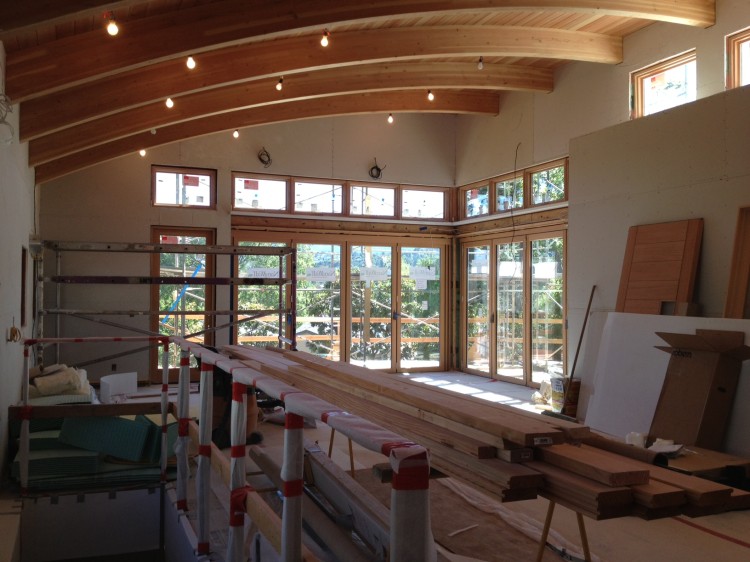
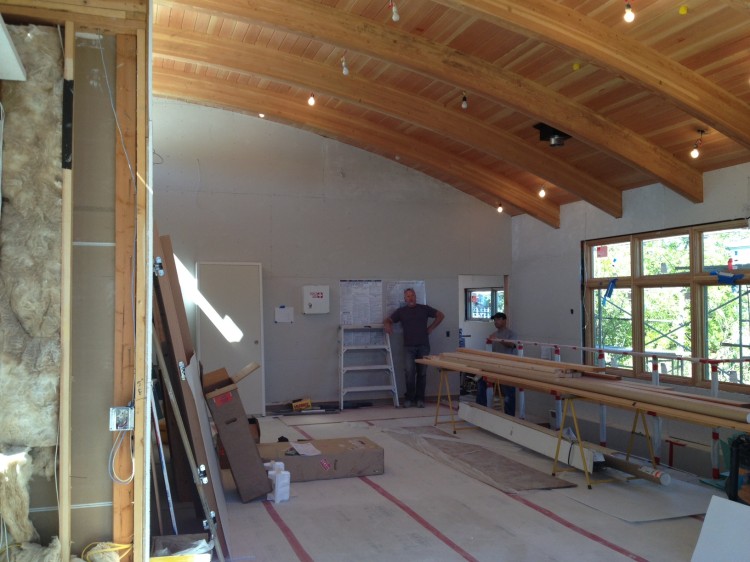
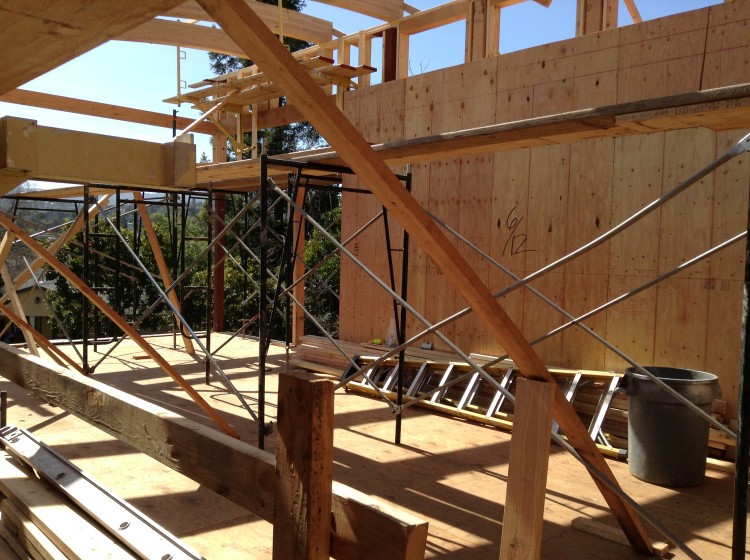
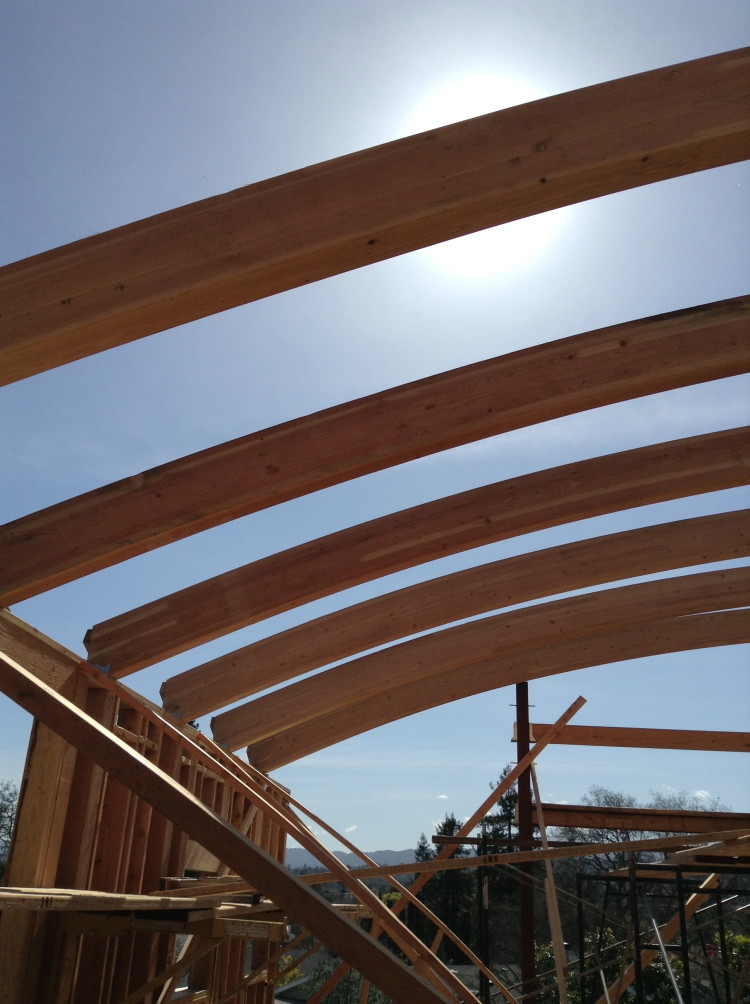
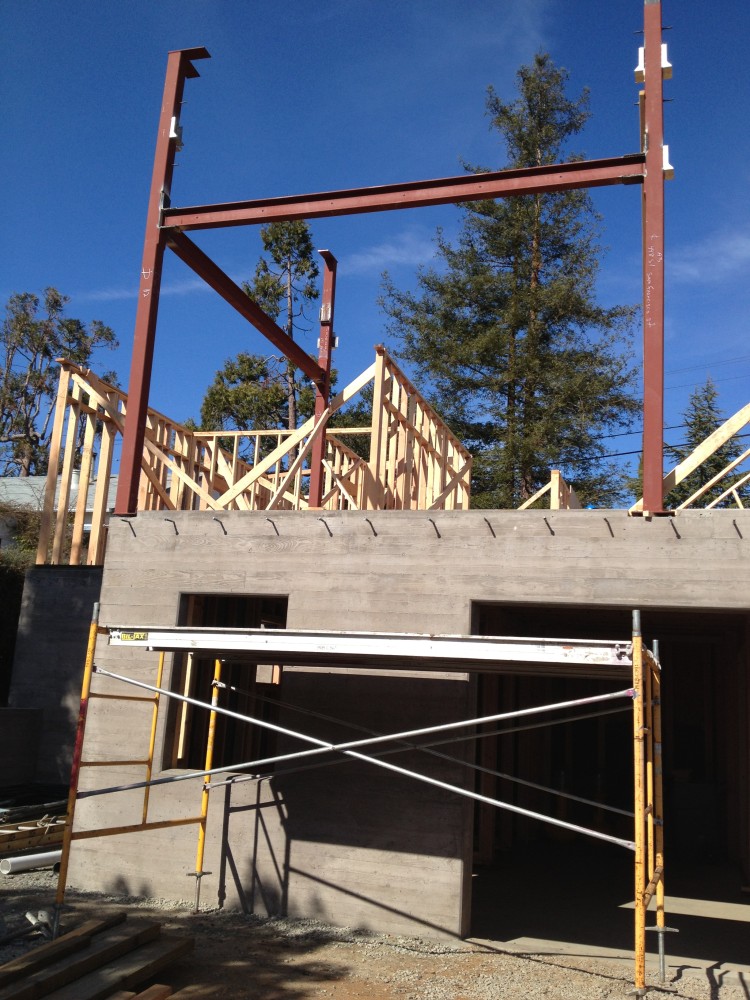
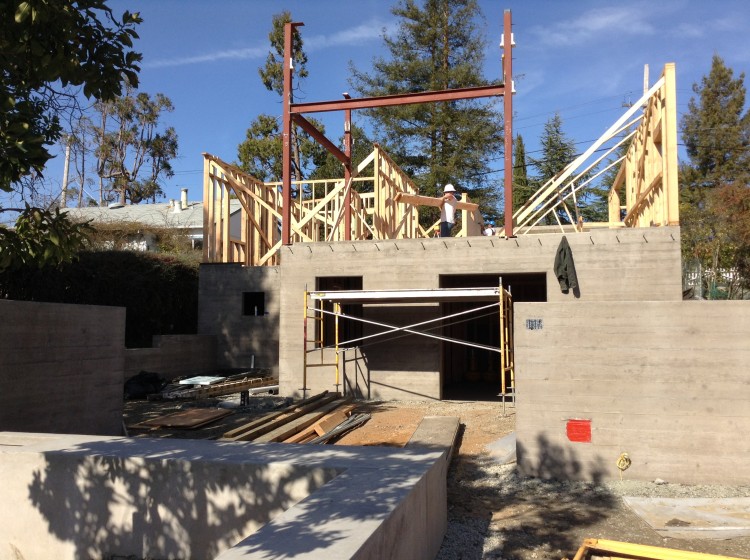
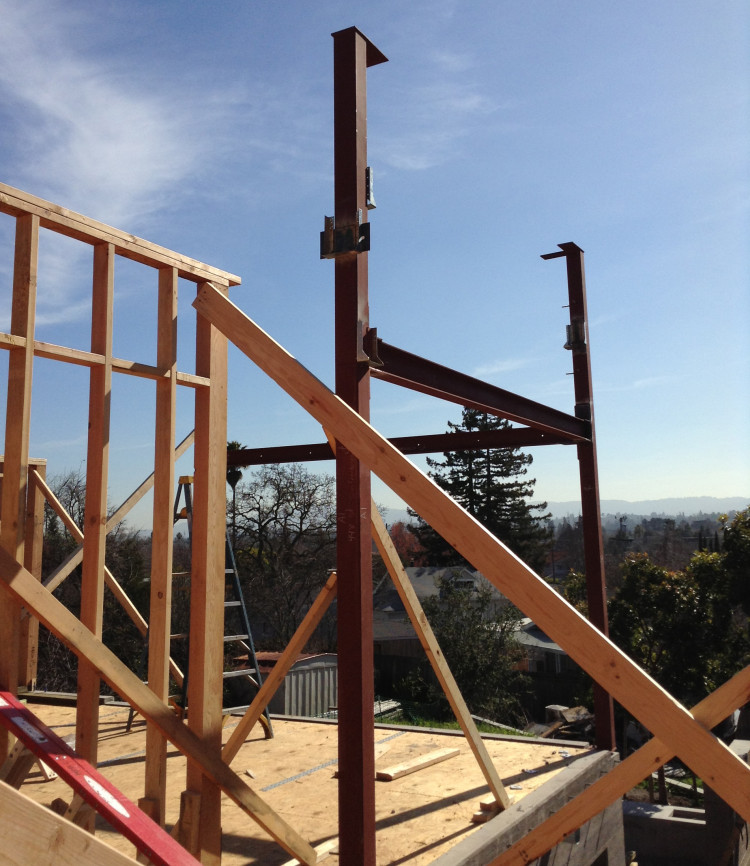
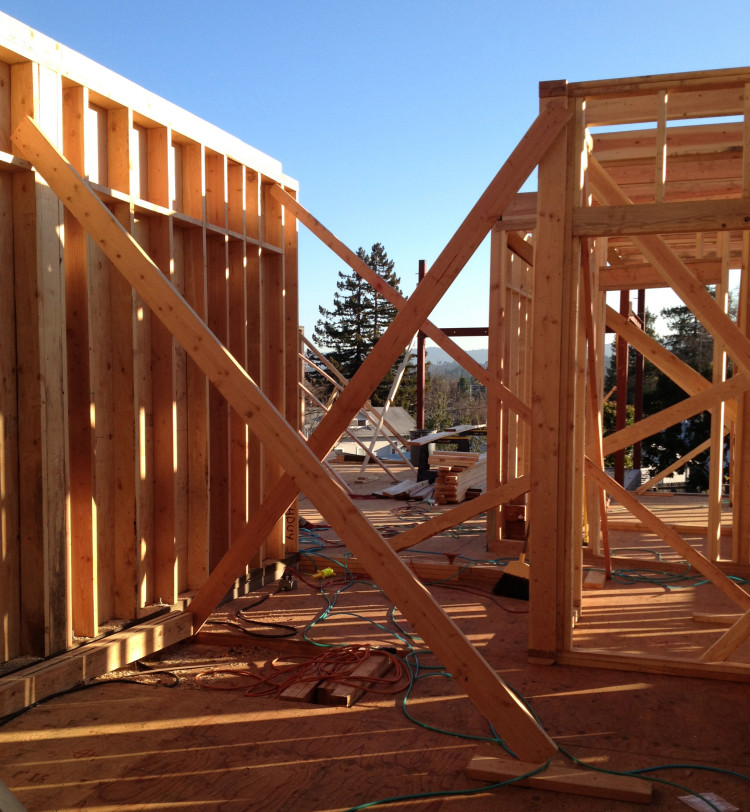
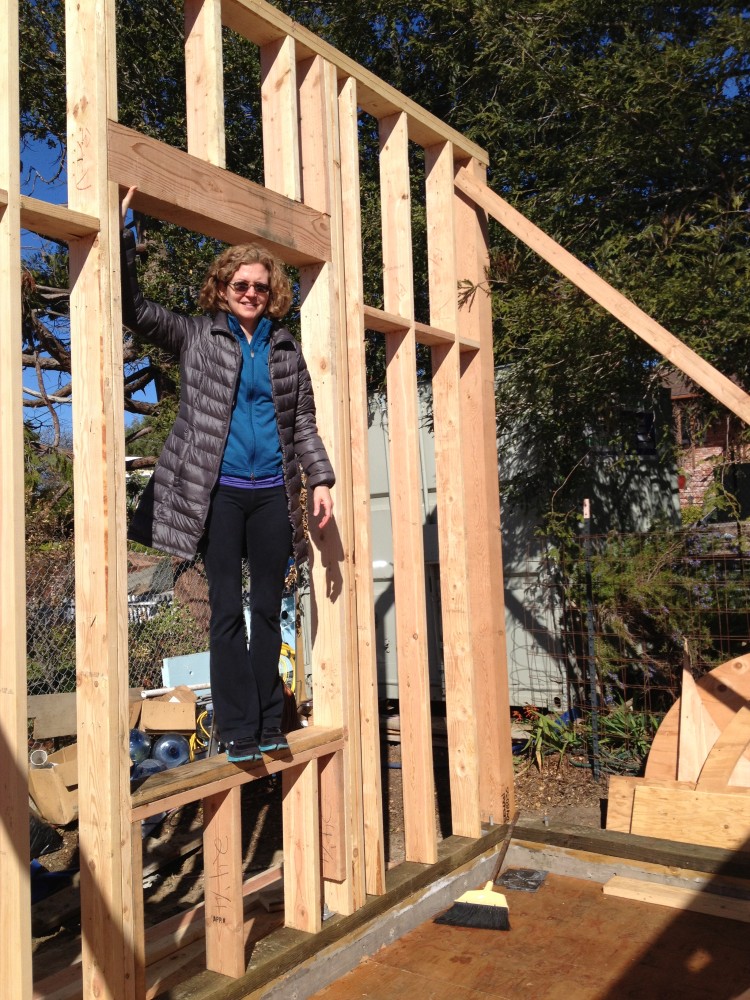
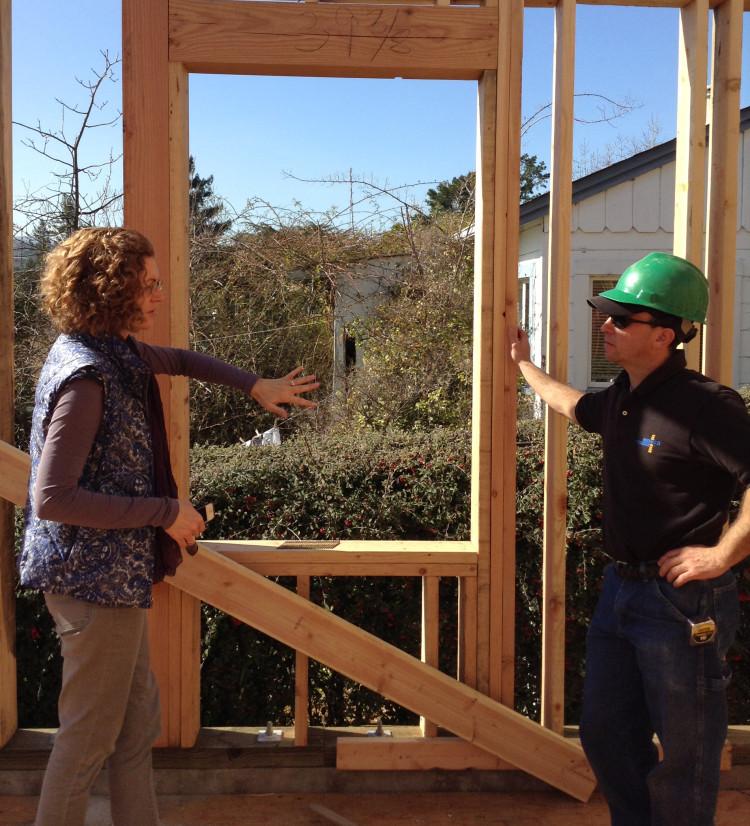
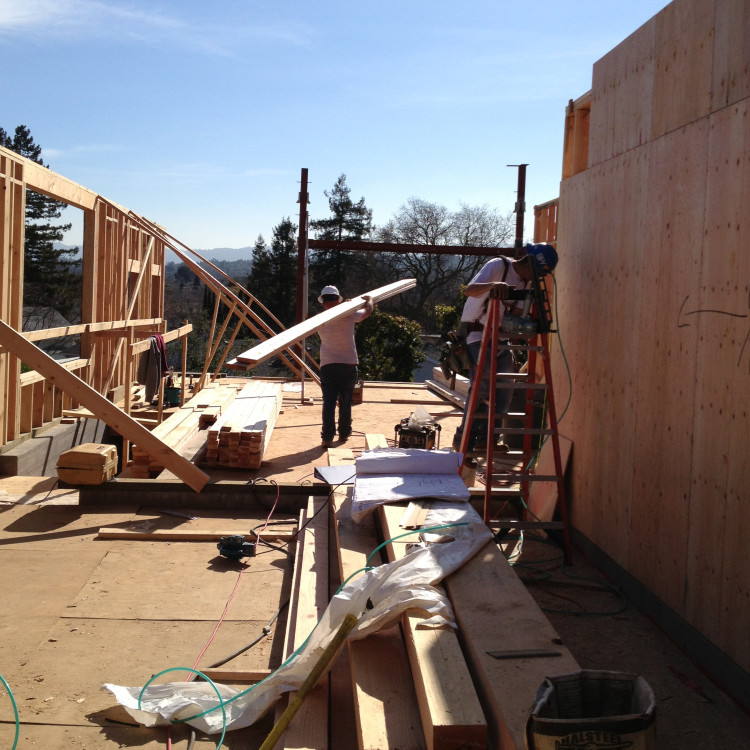
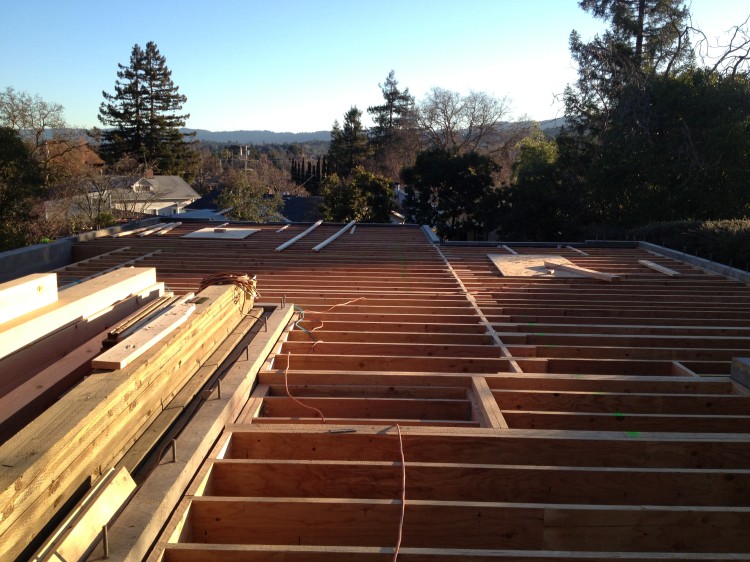
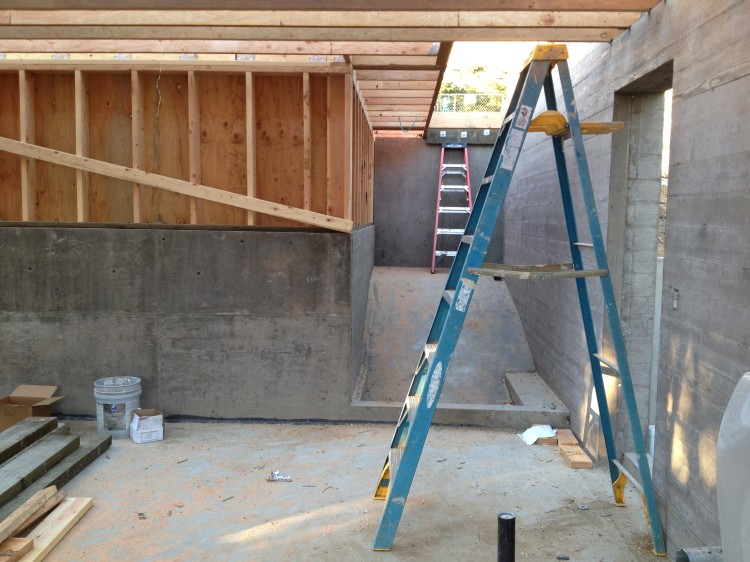
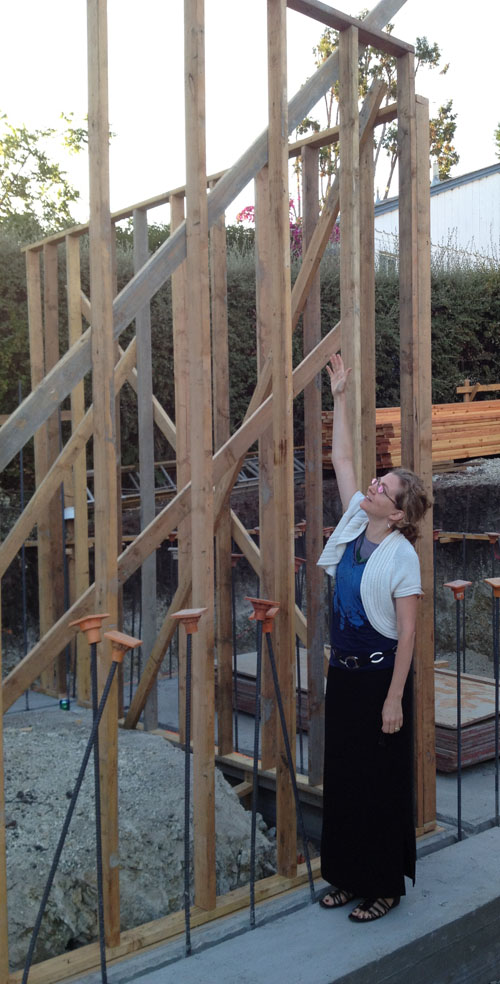
In the circus the location where the tent is set up each day is called “the lot”.  It becomes home to the show.  I love that Bob and I have a “lot” to go to each day and see our future home taking shape.  While completely different, I find both “lots” to be absolutely captivating.


BOB IN THE FIELD FOR A DAY


On the Friday after July 4th Bob spent the day “laying out” the house with Rick, one of the owners of Solid Concrete, and their crew.  The footings had already been dug at this point – the task was to locate the house again (as the points previously located had shifted when the soil was moved around). The process is time consuming and requires patience – each point must be measured carefully and accurately.  It was cool to see where our house will actually be. I took the morning off to watch and take photos.  I loved seeing Bob work in a way he used to a lot when he was a foundation contractor.  He of course enjoyed being in the field again.  A new laser tool helped make a familiar process a little easier, but the actual corners are still located using a good old “plumb bob” which is a pointed weight.

There are also a few photos of the bench going in the back garden – it will be made of concrete and these photos show the rebar starting to be put together.

Most of the time we see the lot after work or on the weekends when no one is there.  It is more exciting and vibrant when the lot is alive with people working.


DIGGING FOR SERPENTINE


When I think of excavation I think of an archaeological dig.  And when the digging began, our lot certainly looked a lot more like that than the site of a future home, although the most likely archaic find would be possum bones.  The first step once the lot was scraped was for Bob to lay out the house corners using pink strings and markers in the ground. Then the foundation crew moved the control points up onto batter boards, which are wood set-ups that are fixed in place. Bob then lay out more lines for excavation.  Next more excavation happened, then more lay out and more moving of batter boards, and once again excavation in a back and forth sequence.

I was most struck by how deep the lowest point was.  That is because our soil is not that great, and the most solid foundation in our case would depend on pouring concrete footings over bedrock.  Our bedrock has serpentine as part of it’s composition – it is light in color and looks cool.  So in the end, our “dig” resulted in uncovering something quite interesting.